
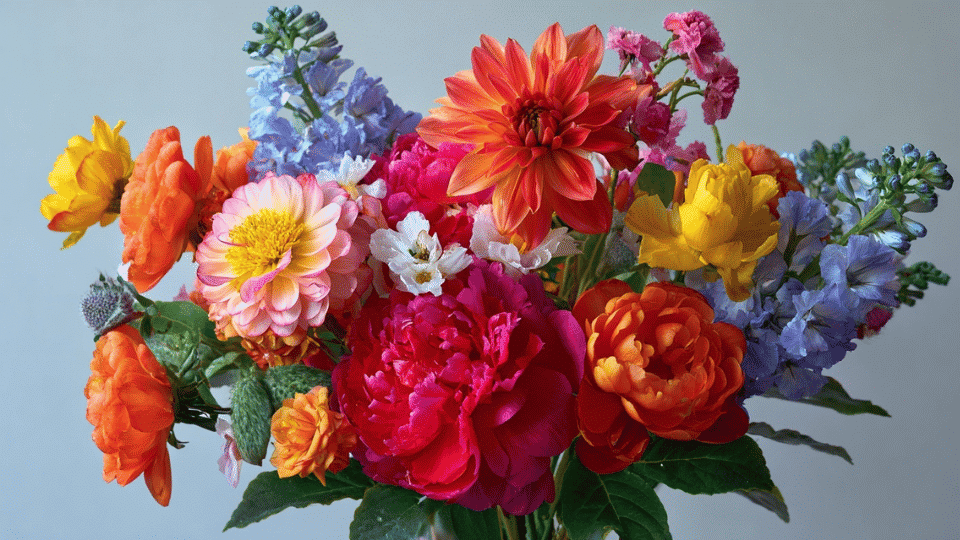
You’ve probably stood in front of a flower shop display, checked the price, and thought, “There has to be a better way.”
There is. DIY flower arrangements cost less, feel more personal, and let you choose every stem that goes into the vase. And honestly, that’s half the fun.
I’ve always been the kind of person who takes gifting a little too seriously. I’ll make the card, pick the flowers, tie the ribbon, and still wonder if it needs one more tiny detail.
So trust me when I say you don’t need florist training or expensive tools to make flowers look beautiful at home. You just need fresh blooms, a simple container, and one small step most beginners skip.
Benefits of DIY Flower Arrangements
Making your own arrangements does more than save money. You get creative freedom and end up with something that actually fits your space and style.
- Save money on every arrangement: Flower shops often mark up their prices. Buying stems yourself costs a fraction of what you’d pay for a pre-made bouquet.
- Pick exactly what you want: No settling for someone else’s color choices or flower types. You’re in charge of every stem that goes in.
- Make it personal: Birthday gift? Dinner table centerpiece? You can match the occasion perfectly instead of hoping a generic arrangement works.
- Learn a skill you’ll use forever: Once you know how, you can whip up arrangements anytime without relying on stores.
Once you start, you’ll wonder why you ever paid someone else to do it. Plus, there’s something satisfying about looking at flowers you arranged yourself.
Should You Start with a DIY Flower Kit or Buy Individual Flowers?
You’ve got two main options when starting out. Kit bundles everything, while buying individual flowers lets you build from scratch. Both work, but they suit different needs.
| Aspect | DIY Flower Kit | Buying Individual Flowers |
|---|---|---|
| Cost | Usually cheaper upfront | Can be pricier per stem |
| Convenience | Everything arrives together | You shop for each piece |
| Variety | Limited to what’s included | Total freedom to choose |
| Learning Curve | Often comes with instructions | You figure it out yourself |
| Freshness | Depends on shipping time | You see what you’re getting |
Kits work great when you’re just testing the waters. But once you know what you like, buying individual stems gives you way more control and keeps things interesting.
What to Look for in a Flower Arrangement Kit
Not all kits are worth your money. Some throw in wilted stems and call it a deal, while others actually set you up for success. You want one that makes the process easier, not harder.
- Fresh flowers with tight buds: Bloom should look healthy and ready to open, not droopy or browning at the edges.
- Clear instructions included: A card or guide that tells you how to prep and arrange saves you from having to guess.
- Enough variety for balance: You need different heights and textures, not just a bunch of the same flower type.
- Proper packaging for shipping: Stems should arrive protected and hydrated so they don’t show up dead.
- Reasonable price for what you get: Compare the stem count and types to what you’d pay at a market.
A good kit takes the guesswork out and lets you focus on arranging instead of troubleshooting problems. Once you find a reliable source, you can reorder whenever you need fresh blooms.
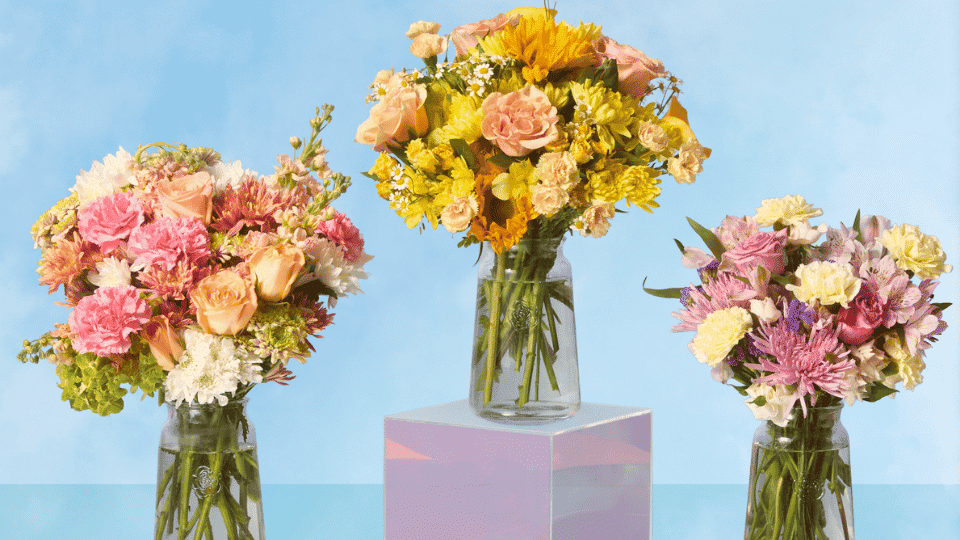
Top DIY Flower Arrangement Kits
Some kits stand out from the rest because they deliver fresh stems, a good variety, and actually help you learn. These brands are often recommended for good reasons.
1. The Bouqs Co.
The Bouqs sources flowers from eco-friendly farms and ships them directly to your door. Their kits come with a mix of blooms and greenery that work well together.
- Best for: People who care about where their flowers come from
- Pros: The flowers arrive farm-fresh with a great color variety, and you can set up a subscription so they keep coming without having to reorder.
- Cons: They cost a bit more than other options, and same-day delivery isn’t really a thing with them.
- Price range: Mid to high
2. UrbanStems
UrbanStems focuses on modern arrangements with clean lines. Their kits include trendy flower choices and come with care instructions that actually make sense.
- Best for: Anyone wanting a contemporary style
- Pros: Delivery is fast in most cities, the packaging looks nice, and their guides are actually easy to follow.
- Cons: They don’t ship everywhere yet, and the stem count can feel a little light at times.
- Price range: Mid-range
3. Farmgirl Flowers

Farmgirl wraps everything in burlap and keeps things simple. They pick seasonal flowers and send them in ready-to-arrange bundles.
- Best for: Seasonal flower lovers
- Pros: Everything is fresh and seasonal, you don’t need a vase right away, and the burlap wrapping is kind of charming.
- Cons: You only get one arrangement choice each week, and the minimum order is higher than in some places.
- Price range: Mid to high
4. BloomsyBox
BloomsyBox ships flowers straight from farms around the world. Their subscription model means you get regular deliveries of fresh stems without having to reorder.
- Best for: Subscription lovers who want variety
- Pros: Each delivery brings a different selection of flowers, the subscription plans are affordable, and they source from farms across the country.
- Cons: Quality can fluctuate with the season, and you can’t always choose which flowers you get.
- Price range: Budget-friendly
5. Flower Moxie
Flower Moxie caters to DIY weddings, but their regular kits work for anyone. They pack serious flower quantities and give you bulk pricing.
- Best for: Large arrangements or events
- Pros: You can get wholesale pricing, they carry a huge variety of flower types, and recipe cards help you figure out quantities.
- Cons: The flowers require more prep work than other kits, and they only ship in bulk.
- Price range: Varies by bulk size
6. Afloral
Afloral does both fresh and faux flowers. Their kits come with everything you need, including vases and tools in some packages.
- Best for: Beginners who need supplies too
- Pros: Some kits include everything to get started, you can choose between real and artificial, and they have tutorial videos online.
- Cons: The faux flowers can feel plasticky, and the selection of fresh flowers is smaller than that of dedicated fresh-only shops.
- Price range: Budget to mid-range
7. H.Bloom
H.Bloom caters to a higher-end crowd with luxury flowers and white-glove service. Their kits include rare blooms you won’t find at grocery stores.
- Best for: Special occasions and luxury arrangements
- Pros: The flower quality is top-tier, you can get personal design help, and everything arrives looking impressive.
- Cons: It’s way more expensive than other options, and honestly, overkill if you just want a casual arrangement.
- Price range: High-end
These kits offer options tailored to your budget and style. Try a few to see which one matches how you like to work with flowers.
Tools and Materials Needed for DIY Flower Arrangements
|
Step-by-Step DIY Flower Arrangement
Making an arrangement is simpler than you think. These steps take you from a bunch of random stems to something that looks put together.
Step 1: Prep Your Flowers
Start by cutting each stem at an angle, about an inch from the bottom. Remove any leaves that would sit below the waterline, as they rot quickly and make everything smell bad.
Fill your vase with cool water and add flower food if you have it. Let the flowers drink for a few minutes before you start arranging. This gives them time to hydrate and perk up.
How to Keep Stems in PlaceOne thing competitors rarely tell you: flowers fall over because there’s nothing supporting them inside the vase. A couple of easy fixes work well here. The simplest is a grid of clear floral tape across the top of the vase opening, just lay strips in both directions to create small squares your stems can slide through. Another option is a small piece of chicken wire crumpled loosely inside the vase, which gives stems something to anchor against. If you arrange often, a flower frog (a weighted pin holder that sits at the bottom of the vase) is worth picking up. Any of these gives you much better control over stem placement, especially when working with top-heavy blooms. |
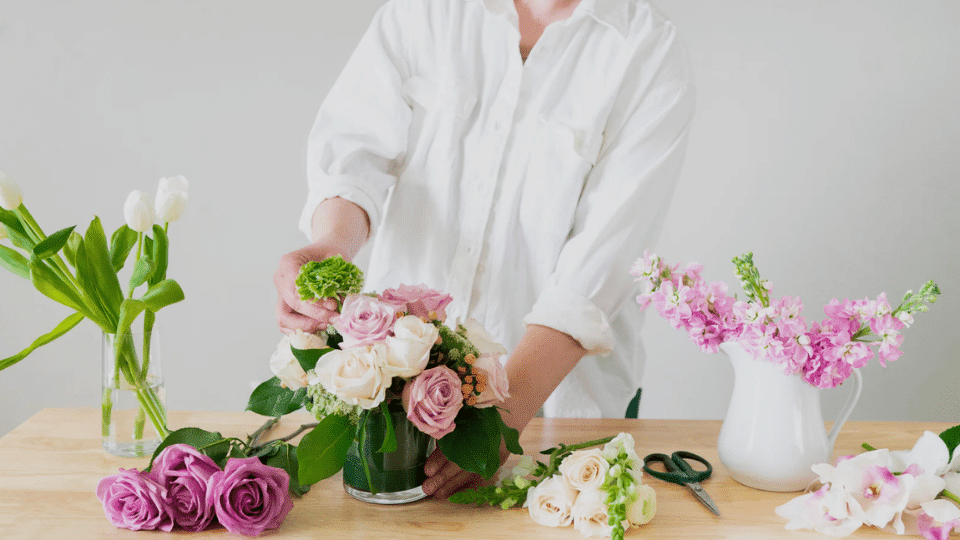
Step 2: Build Your Base Layer
Grab your greenery or larger flowers first. These create the structure that everything else sits on. Stick them around the edge of your vase at different heights.
Turn the vase as you go so you’re building all the way around, not just on one side. This base layer should look a little wild and loose, not tight or perfect.
Step 3: Add Your Focal Flowers
Now bring in your showiest blooms. Space them out so they’re not all clumped together. Some should sit higher, some lower, and some tucked in the middle.
Keep turning the vase and stepping back to check how it looks from all angles. You’re filling in the gaps the base layer left behind.
Step 4: Fill and Adjust
Use smaller flowers or filler stems to cover any bare spots. Don’t be afraid to pull stems out and reposition them if something looks off.
Once everything feels balanced, top off the water and trim any stems that stick out weirdly. Give it a final spin to make sure there aren’t any awkward holes or lopsided sections.
You’ll get faster each time you do this. The first arrangement takes longer, but after a few tries, you’ll breeze through these steps without thinking too hard about it.
Finding Your Flower Arranging Style
Your arrangements should match how you actually decorate, not some trend you saw online. Different styles work for different spaces and personalities.
| Style | What It Looks Like | Best For |
|---|---|---|
| Minimalist | Few stems, lots of space, clean lines | Modern homes and small spaces |
| Garden Style | Loose and natural, like you picked them yourself | Casual settings and farmhouse vibes |
| Asymmetrical | Off-center balance, unexpected angles | Creative spaces and artistic rooms |
| Bohemian | Layered textures, mixed colors, free-flowing | Eclectic homes and relaxed gatherings |
| Classic and Formal | Symmetrical and tight, every stem has a spot | Formal dinners and traditional rooms |
| Rustic and Wild | Unrefined look, foraged feel, organic shapes | Country settings and outdoor tables |
| Romantic | Soft colors, flowing blooms, delicate touches | Weddings and intimate dinners |
| Monochromatic | One color family, different shades and textures | Graceful or themed events |
Try a couple of these to see what feels right. Your style might be a mix of two, and that’s fine too. Once you nail down what you like, arranging gets easier because you know what to look for when buying flowers.
I won’t pretend movies didn’t shape how I think about flowers. There’s always that one scene with a simple, slightly messy bouquet that somehow looks perfect. That’s the look I go for now, not stiff, not overly planned, just something that feels real.
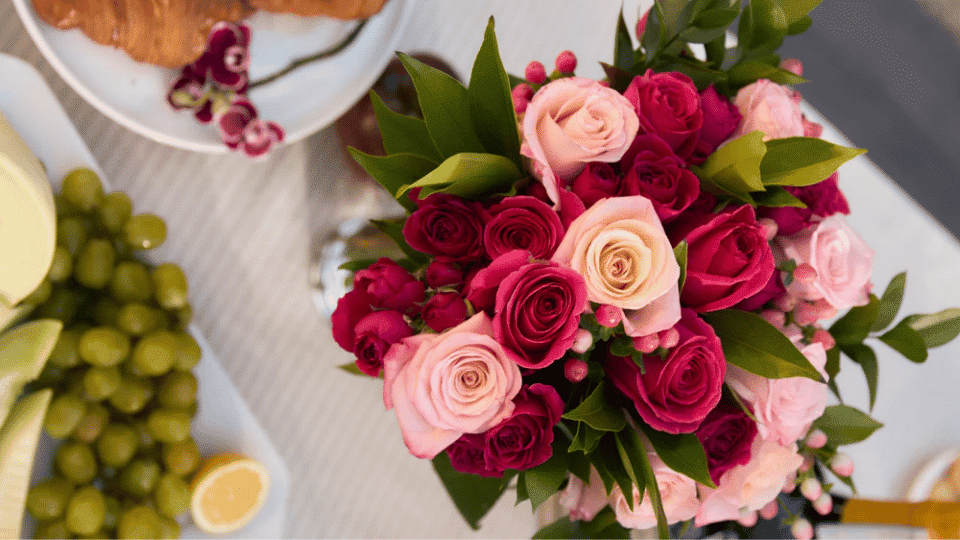
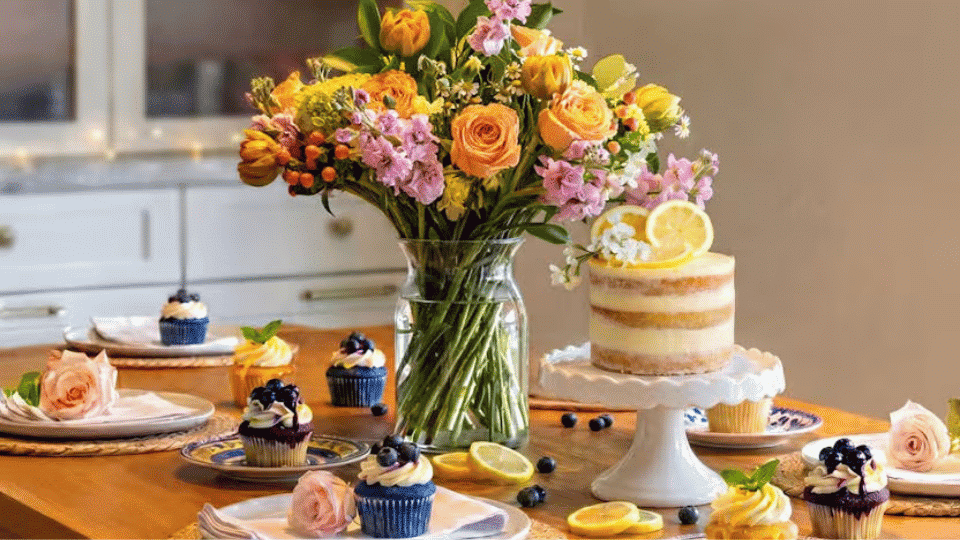
DIY Flower Arrangements for Special Occasions
Different events call for different looks. These arrangements help you match the vibe and make each occasion feel more special.
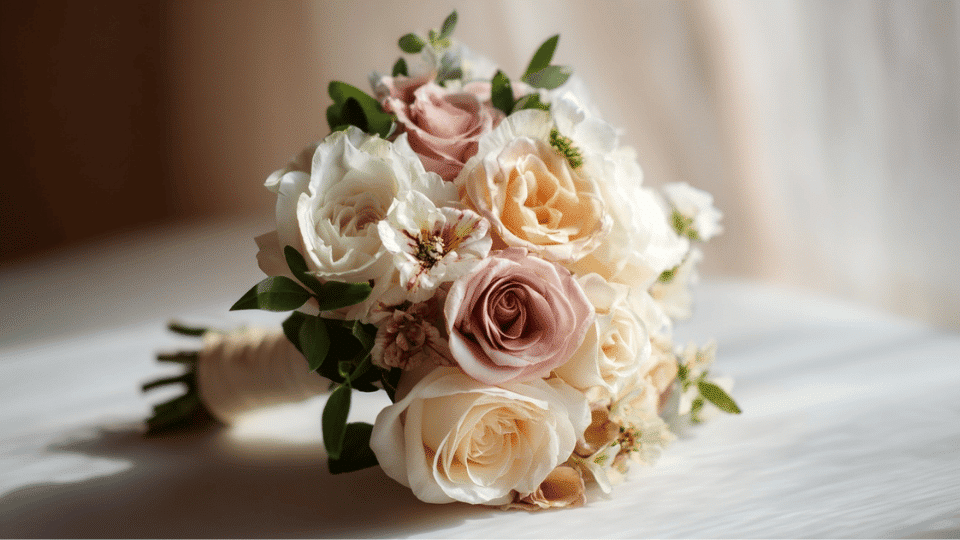
1. Bridal Bouquets
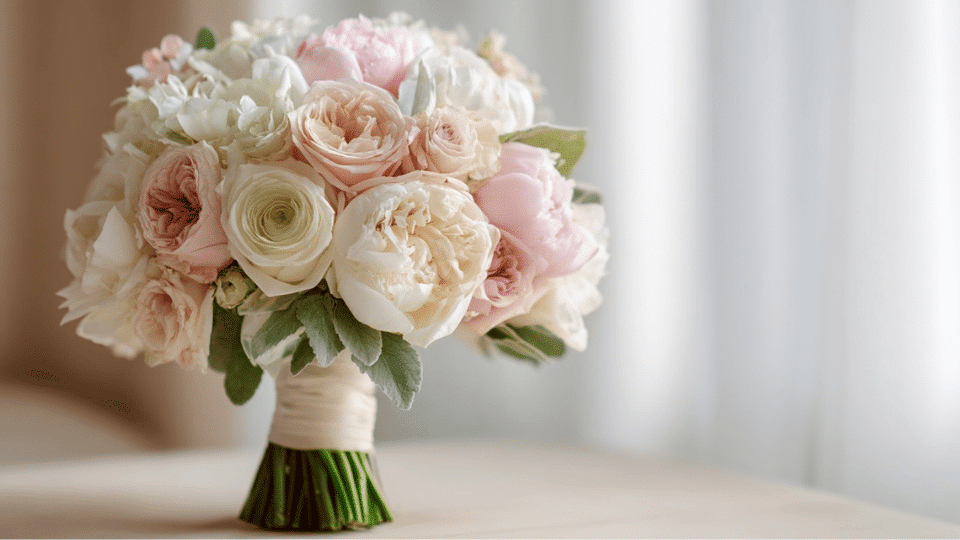
The bride’s bouquet should stand out but still feel comfortable to hold all day. Pick a focal flower like roses or peonies, then add softer blooms around it.
Keep the stems long enough to wrap with ribbon, but not so long that they get awkward. Build it in your hand, starting with the center flower and spiraling others around it. Bind the stems tight with floral tape, then cover with ribbon and pin it securely.
2. Bridesmaid Bouquets
These should complement the bridal bouquet without stealing attention. Use similar flowers but in smaller quantities or lighter shades. Make them slightly smaller and easier to carry since bridesmaids hold them through photos and the ceremony.
Wrap the stems the same way as the bride’s for a cohesive look. You can make them all match or give each bridesmaid a slightly different mix.
Once you’ve handled the bouquets, decorating the rest of the venue takes the same approach: pick a style, stick to your colors, and don’t overthink it.
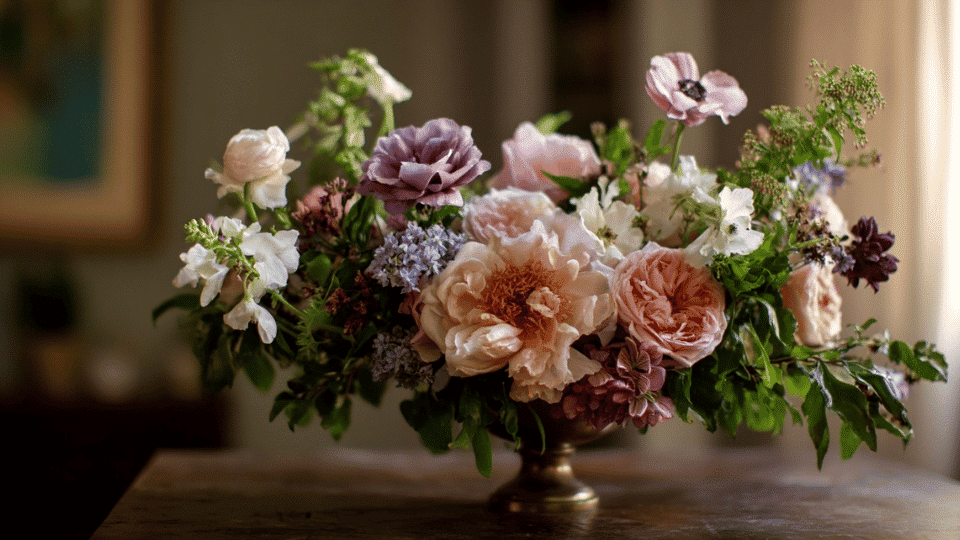
3. Centerpieces
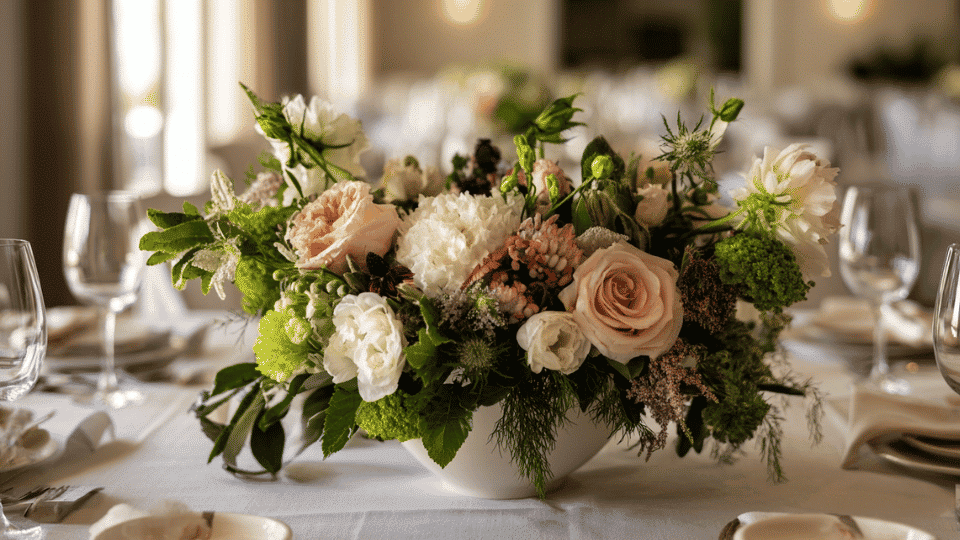
Table centerpieces need to look good from all sides and sit low enough that guests can talk across them. Use a wide, shallow vase and keep the height under eye level when people are seated.
Mix flower types and greenery to fill it out, and turn it as you work to check every angle. Add candles around the base if the venue allows it, but keep the arrangement tight so it doesn’t take up the whole table.
If you’re designing multiple tables, wedding centerpiece ideas can help you create variety without starting from scratch each time.
4. Ceremony Arrangements
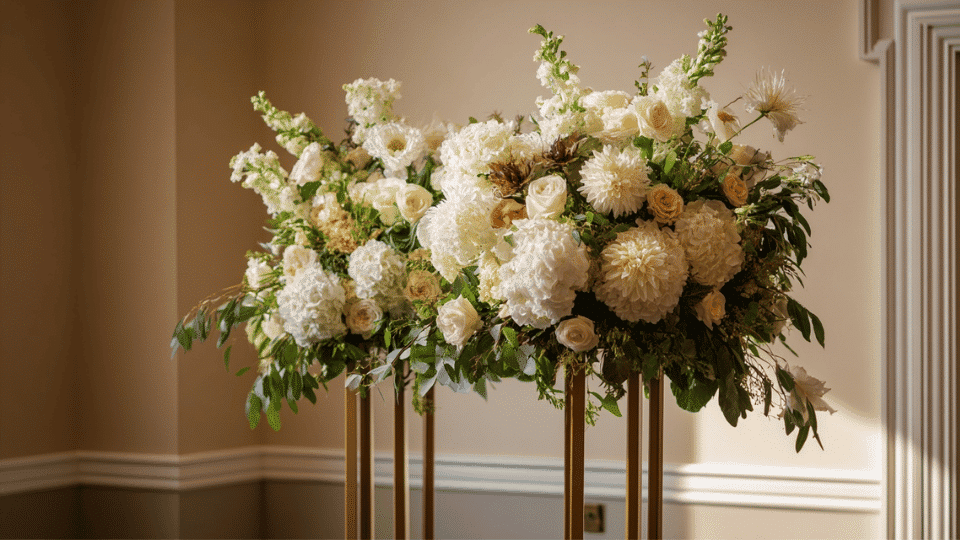
These go at the altar or entrance and need to make a statement from a distance. Go bigger than you think with tall stems and full blooms that photograph well.
Use a sturdy vase or stand that won’t tip over if someone brushes past it. Stick to colors that match the wedding palette and add plenty of greenery to fill gaps. Set them up early so they have time to settle and open.
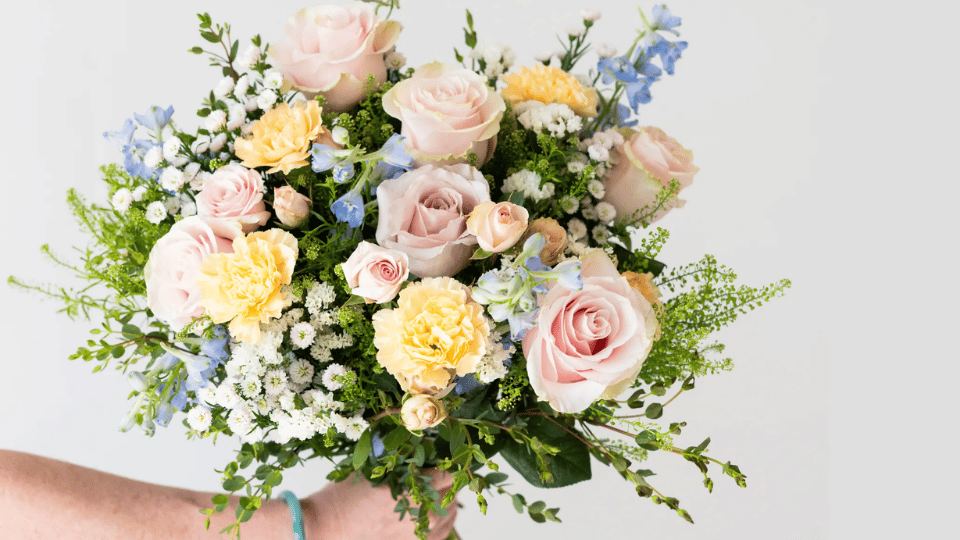
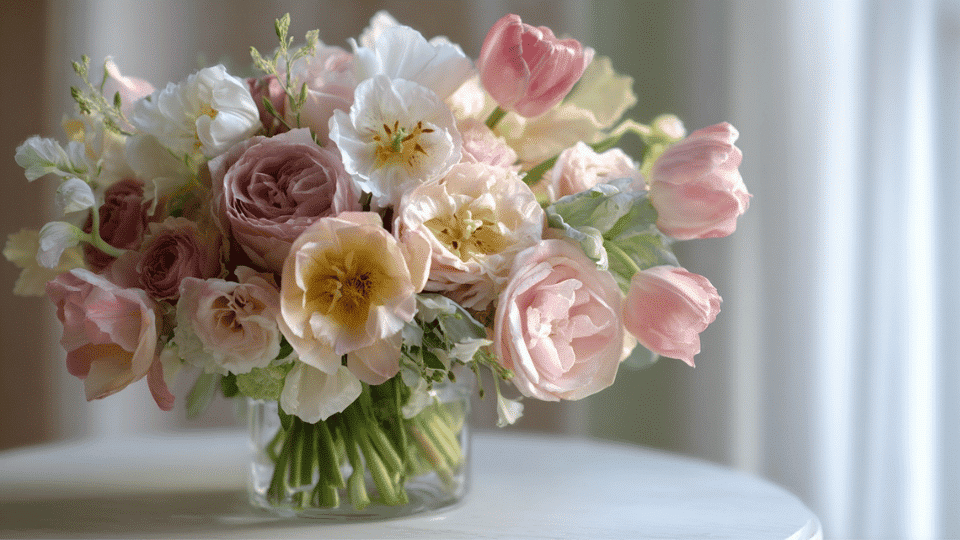
5. Spring Theme Bouquets
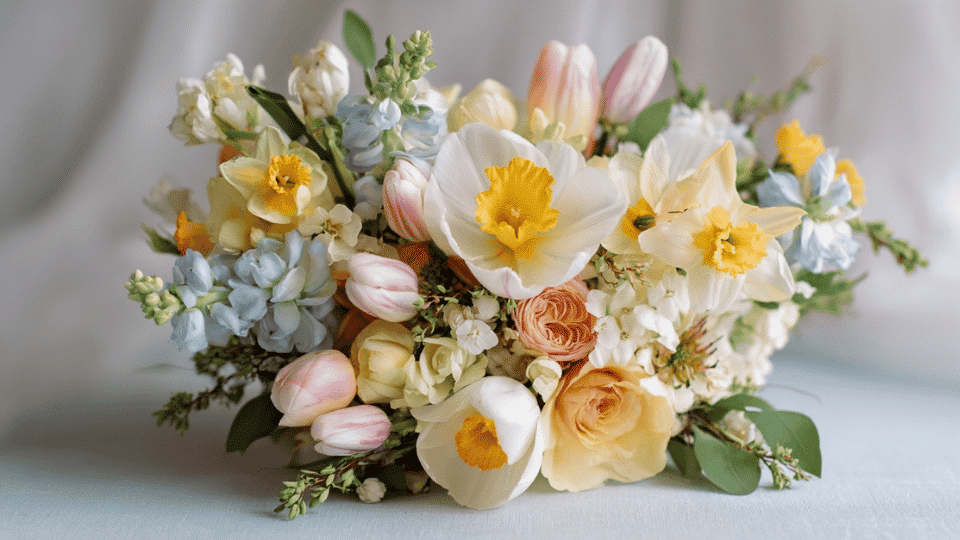
Spring calls for pastels and fresh-looking blooms. Use tulips, daffodils, or hyacinths with light greenery. Keep the colors soft like blush pink, lavender, or pale yellow.
The arrangement should feel airy and new, not heavy or dark. Add small branches with buds if you can find them, because they give that just-picked-from-the-garden feel.
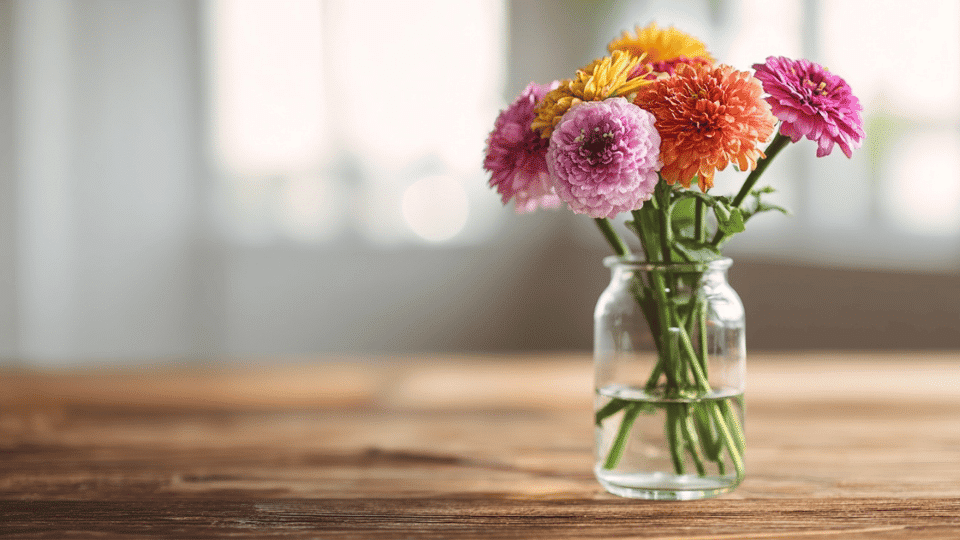
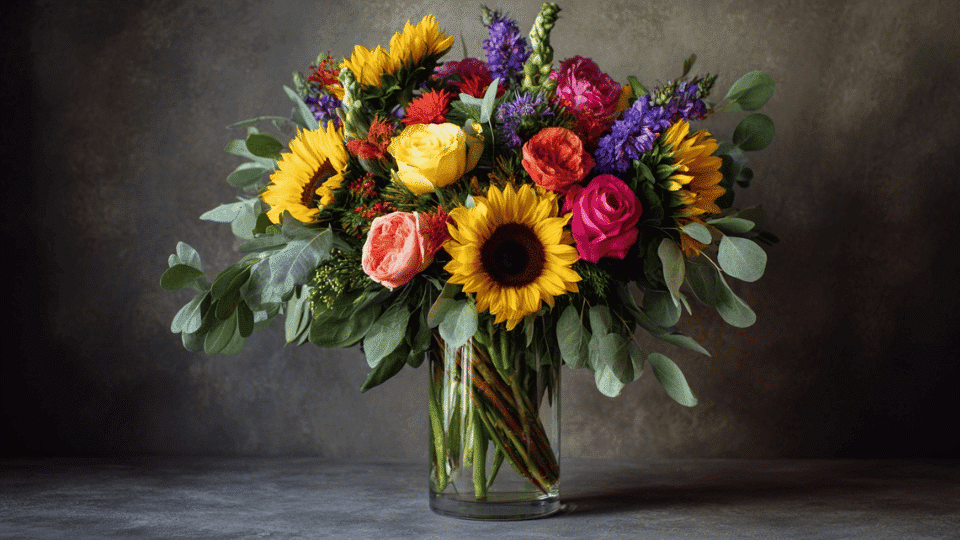
6. Summer Theme Bouquets
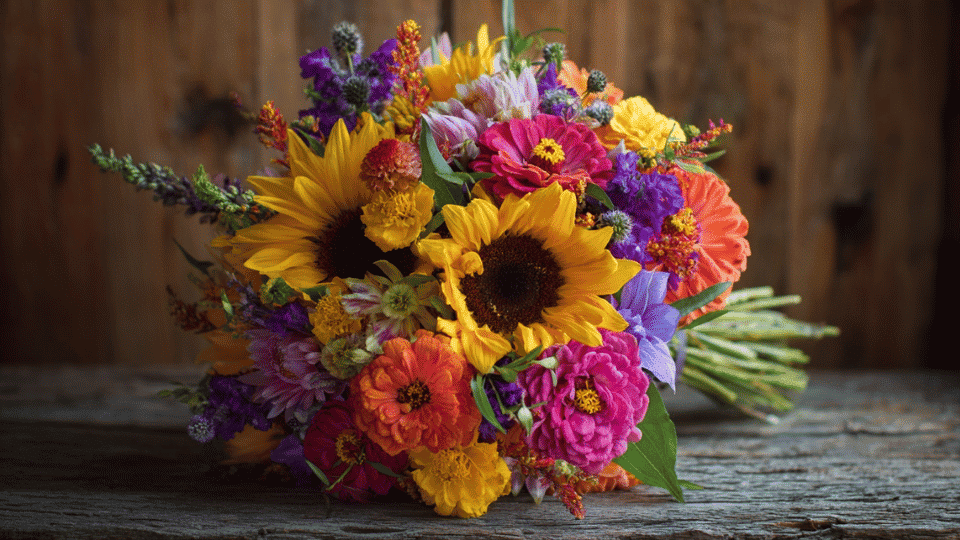
Summer arrangements can handle bold, bright colors and full blooms. Sunflowers, zinnias, and dahlias work great for this. Mix in some wildflowers or grasses to keep it from looking too perfect.
The vibe should be cheerful and a little wild, like something you’d see at a farmer’s market. Don’t worry about making it neat because summer flowers look better with some movement.
7. Fall Theme Bouquets
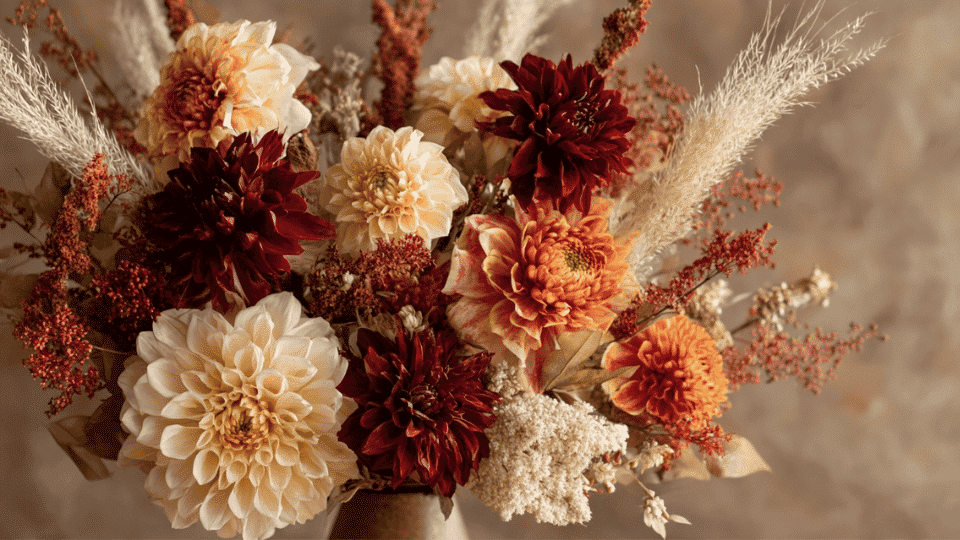
Fall means rich colors like burgundy, orange, and deep yellow. Use mums, marigolds, or dahlias and add texture with dried grasses or wheat stems. Branches with fall leaves make good filler and bring in that seasonal feel.
The arrangement should look warm and full, not sparse. You can even tuck in small pumpkins or gourds at the base for extra fall vibes.
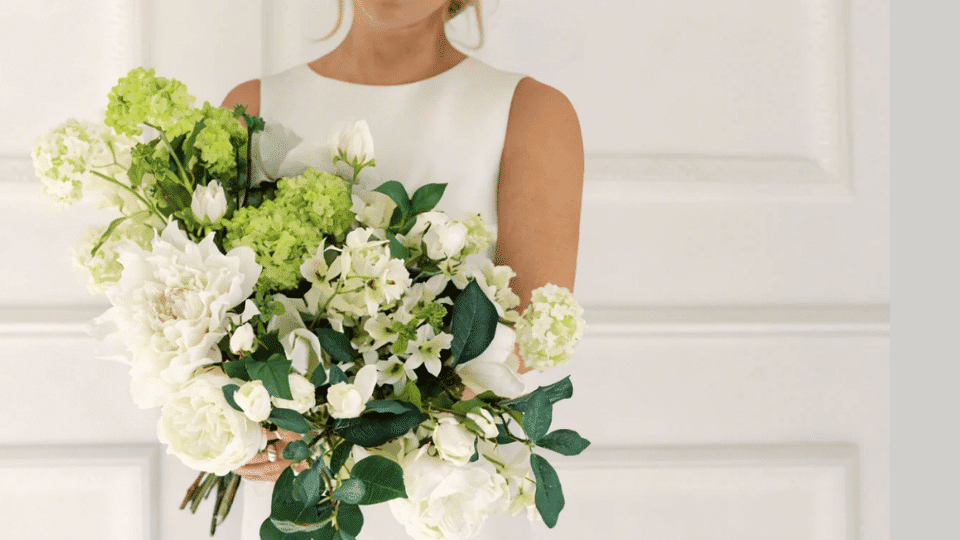
8. Winter Theme Bouquets
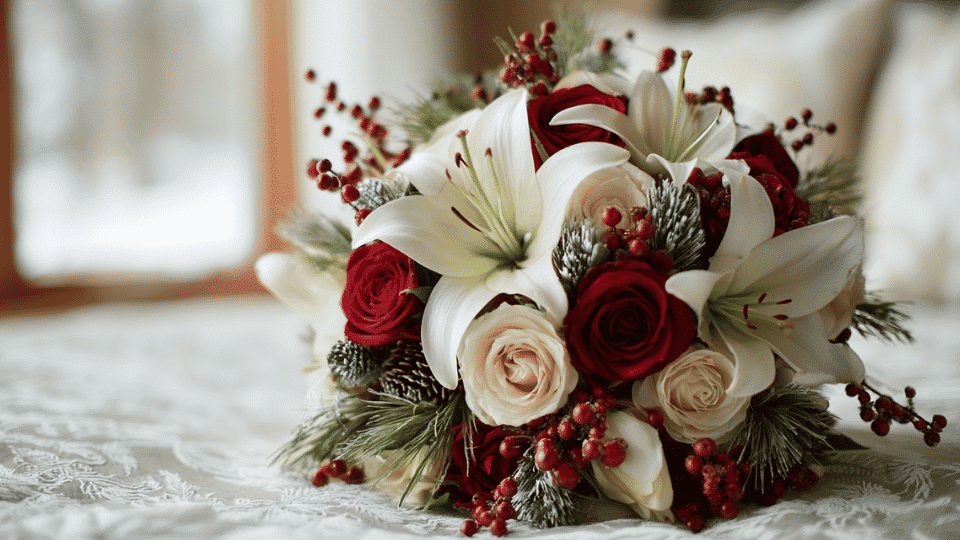
Winter arrangements lean into whites, deep reds, and evergreen touches. Use roses, amaryllis, or white lilies with pine branches or eucalyptus. Add berries for pops of color and texture.
The feel should be cozy but graceful, nothing too bright or summery. Pinecones tucked into the arrangement or tied to the vase add a nice seasonal touch without going overboard.
9. Mother’s Day Bouquets
Moms usually love classic flowers like roses, lilies, or tulips in soft, pretty colors. Pick blooms that smell good because scent makes the gift more memorable.
Keep the arrangement balanced but not too fussy since most moms prefer something they can enjoy without babysitting it. Add a handwritten note tucked into the stems because that personal touch matters more than perfect technique.
10. Birthday Arrangements
Birthday flowers should match the person’s personality and favorite colors. Go bright and fun for someone outgoing, or keep it simple and graceful for someone more reserved.
Mix different bloom sizes to keep it interesting, and don’t stress about following rules. The goal is to make them smile when they see it, so think about what they’d actually like, not what looks trendy. If flowers aren’t their style, handmade gifts give you plenty of other options that feel just as personal.
11. Sympathy Flowers
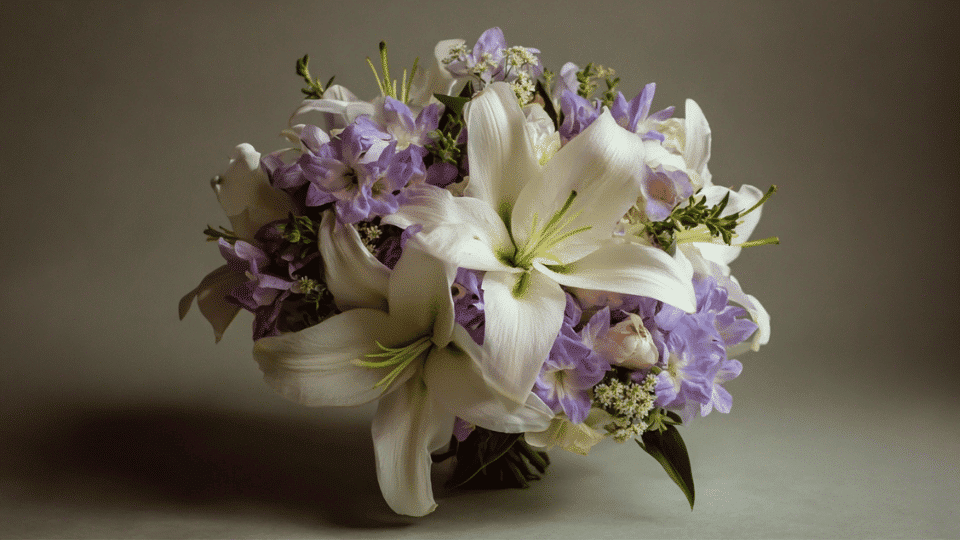
Sympathy arrangements should feel calm and respectful, not flashy. Stick with whites, soft purples, or muted blues. Lilies and chrysanthemums are traditional choices that most people recognize as thoughtful.
Keep the design simple and balanced because this isn’t the time for experimental arrangements. A clean, classic look shows you care without making it about the flowers themselves.
12. Thank You Bouquets
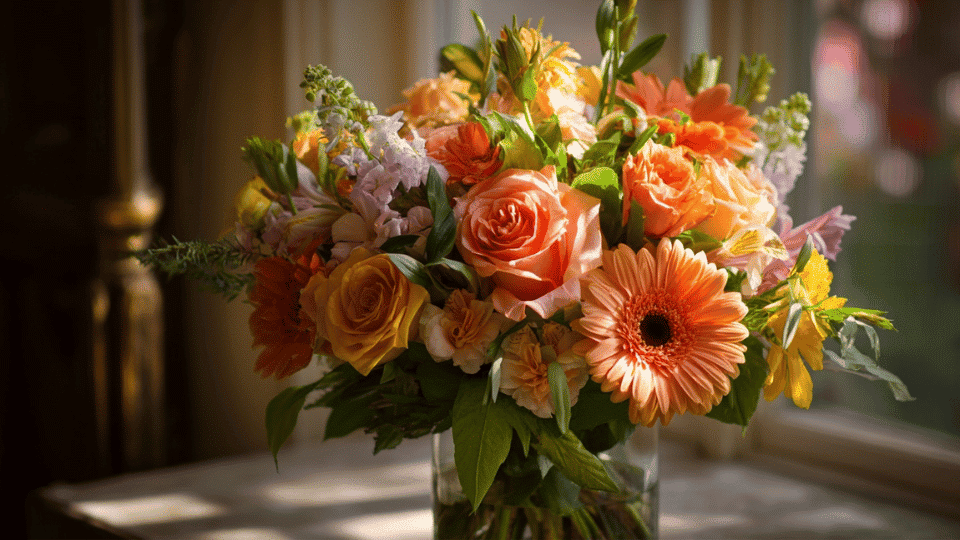
Thank you, flowers should feel generous without being over the top. Pick cheerful colors and mix a few different types of blooms to show you put thought into it.
The size should be enough to make an impact, but not so big that it becomes a hassle for them to deal with. Wrap it nicely or put it in a vase they can keep using after the flowers are gone.
Each occasion has its own feel, and once you know what works, putting together the right arrangement becomes second nature. You’ll start seeing which flowers fit which moments without overthinking it.
Fresh vs. Faux Flowers: Which is Right for You?
Both fresh and fake flowers have their place in DIY flower arrangements. Your choice depends on how long you need them to last and how much upkeep you want to deal with.
| Aspect | Fresh Flowers | Faux Flowers |
|---|---|---|
| Lifespan | Last a week or two max | Last for years if stored right |
| Maintenance | Need water changes and trimming | Just dust them occasionally |
| Look and Feel | Real texture and scent | Can look plasticky up close |
| Cost | Need replacing regularly | One-time purchase |
| Seasonality | Limited by what’s available | Get any flower anytime |
| Special Occasions | Perfect for events and gifts | Good for permanent decor |
Fresh flowers make sense when you want the real thing for a short time. Faux works better for long-term displays where you don’t want to fuss with upkeep. Some people even mix both to save money while keeping things looking alive.
Tips to Make Your Flower Arrangements Last Longer
You spent time making your arrangement look good, so you want it to stick around. A few simple habits can add days to the life of your flowers.
- Change the water every two days: Old water becomes cloudy and supports bacterial growth, which clogs stems and kills flowers faster.
- Cut stems at an angle each time you change water: This opens up fresh tissue so flowers can drink better instead of sitting on a sealed-off end.
- Keep arrangements out of direct sunlight and away from heat: Hot spots make flowers wilt and fade more quickly than cool, shaded areas.
- Remove dead blooms as soon as you see them: One dying flower releases substances that make the others decline faster.
- Add a drop of bleach to the water: Sounds weird, but it kills bacteria without hurting the flowers.
Do these things, and your arrangement will look good well past the typical week-long mark. You’ll actually get your money’s worth out of every stem you buy.
The Bottom Line
DIY flower arrangements give you control over your space without draining your wallet every time you want fresh blooms. You’ve got the steps, the tools, and the tips to make arrangements that actually last and look like you meant them to turn out that way.
Start simple. Pick a few stems, grab a vase, and see what happens. You’ll mess up the first one, maybe the second too, but by the third try you’ll have something worth showing off.
The more you practice, the faster it gets. Stop paying someone else to do what you can learn in an afternoon. Go buy some flowers and get started.
Frequently Asked Questions
What Is The 3 5 8 Rule In Floristry?
The 3-5-8 rule means using 3 focal flowers, 5 secondary flowers, and 8 filler stems or greenery for a balanced arrangement.
What Flowers To Give After Surgery?
Good choices include roses, orchids, carnations, daisies, and low-scent lilies. Avoid strong-smelling flowers.
What Flowers Should Not Be Mixed Together?
Do not mix daffodils with other flowers right away. Their sap can shorten the life of nearby blooms.