
Most travel photos look better in memory than on screen. The light feels flat, the colors look dull, and the moment loses its spark. Small changes can fix that quickly.
Simple framing, better timing, and a few smart habits can turn everyday scenes into images worth keeping.
These travel photography tips help you notice what others miss and capture moments as they really feel. You do not need fancy gear or expert skills, just a clearer way of seeing.
Once you start applying them, your photos will begin to tell stronger stories.
What Makes a Great Travel Photo?
A great travel photo is not about being perfect. It is about telling a small story.
Think about the photos you actually stop and look at online. Most of them have one thing in common: they make you feel something. Maybe it is the mood of the light, a person laughing in the background, or a street that seems to hold a thousand stories.
Emotion and context are what make a photo worth keeping. Light, timing, and how you frame your shot help you capture that. Everything else is secondary.
The Basics of Travel Photography
Before anything else, you need to build a solid foundation. These basic habits will shape how you approach every single shot you take while traveling.
1. Learn to Use the Camera You Already Have
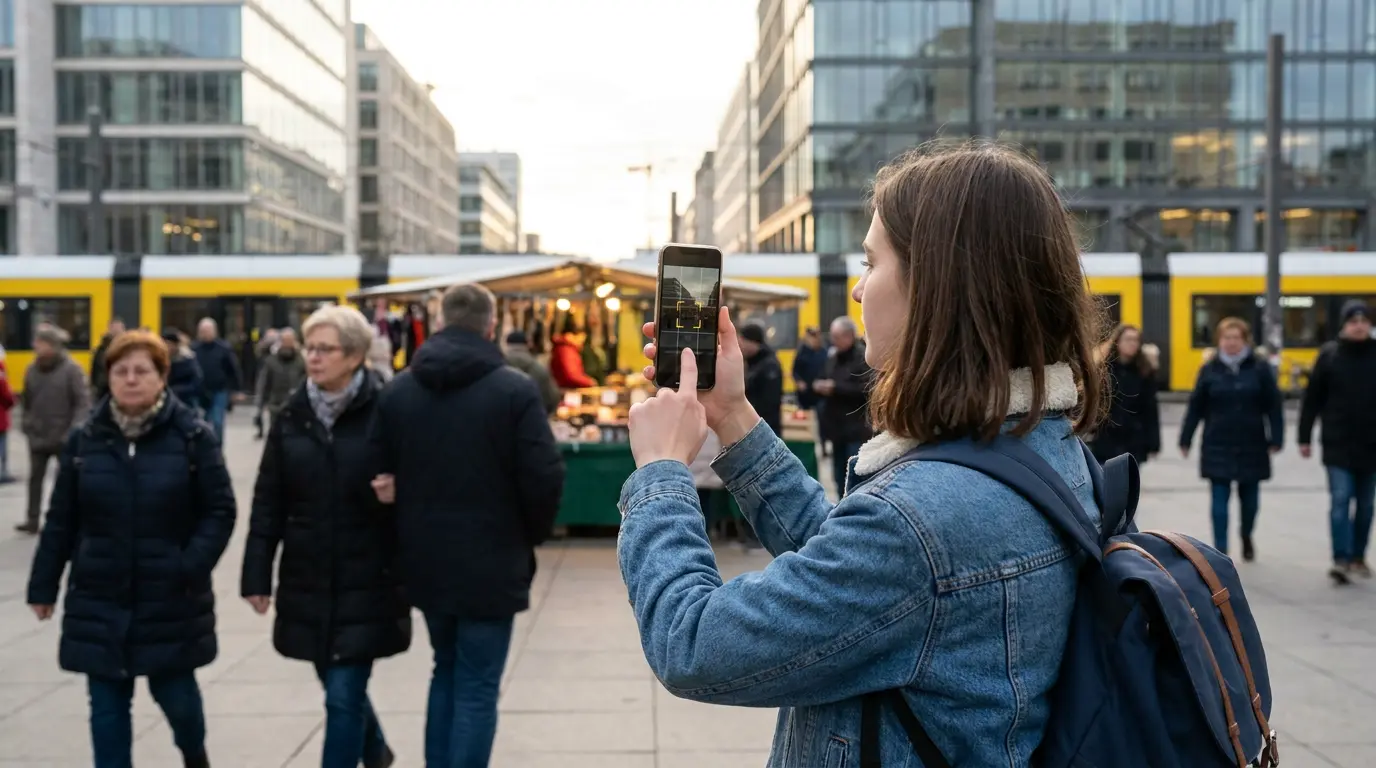
Most beginners think they need a better camera, but the device in your pocket is already capable of great shots. What holds people back is not the gear; it is not knowing how to use what they have. Focus on understanding your camera before spending money on anything new.
- Turn on grid lines to help with framing
- Learn how to tap to focus and adjust exposure on your phone
- Explore your camera app settings before the trip, not during it
Tip: The best camera is the one you already know how to use.
2. Practice Before Your Trip
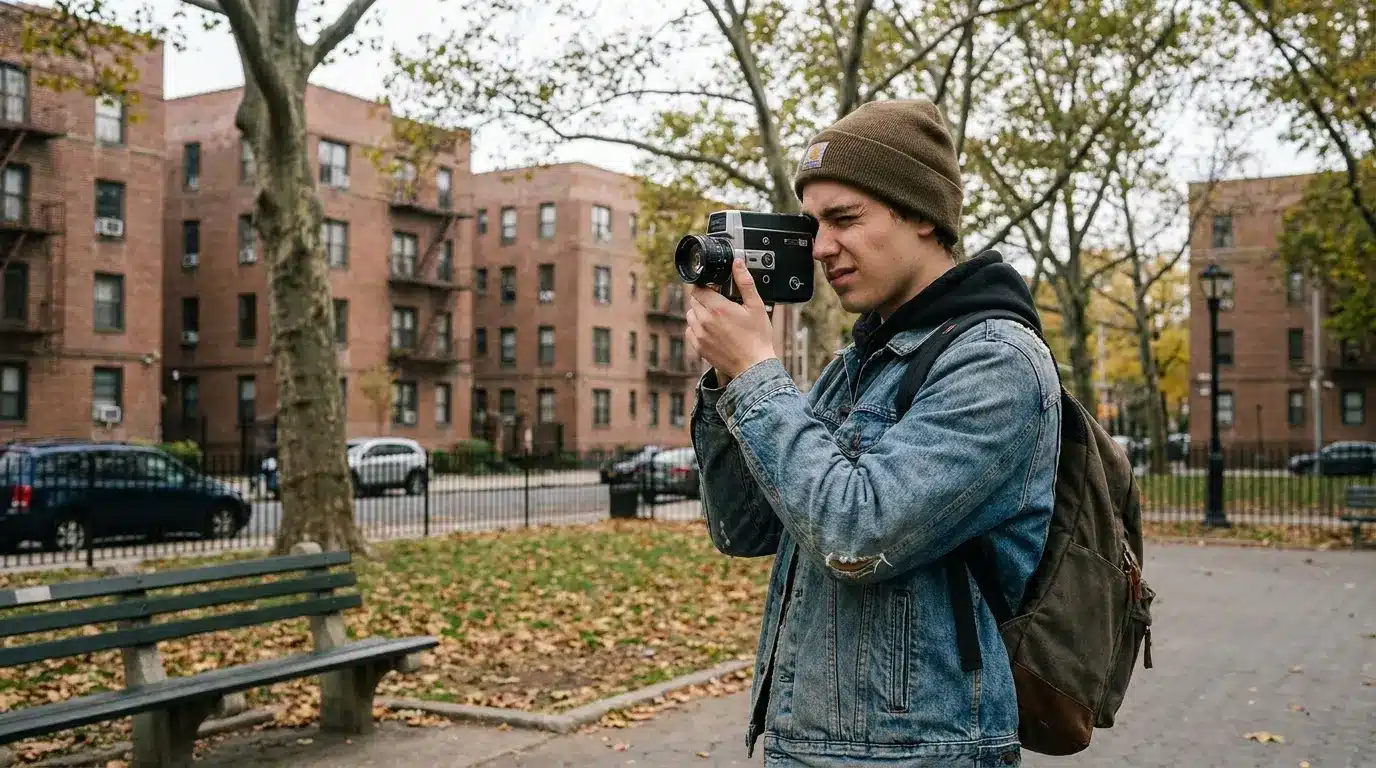
Shooting locally before you travel helps you understand how your camera behaves in different situations. You will learn how quickly it focuses, how it handles low light, and what angles work best.
Surprises are better discovered at home than in the middle of a once-in-a-lifetime moment abroad.
- Walk around your neighborhood and shoot familiar scenes
- Test your camera in both bright sunlight and dim indoor light
- Try different angles and distances to see how your camera responds
Tip: Treat your hometown like a travel destination when you practice.
3. Slow Down Before Taking a Shot
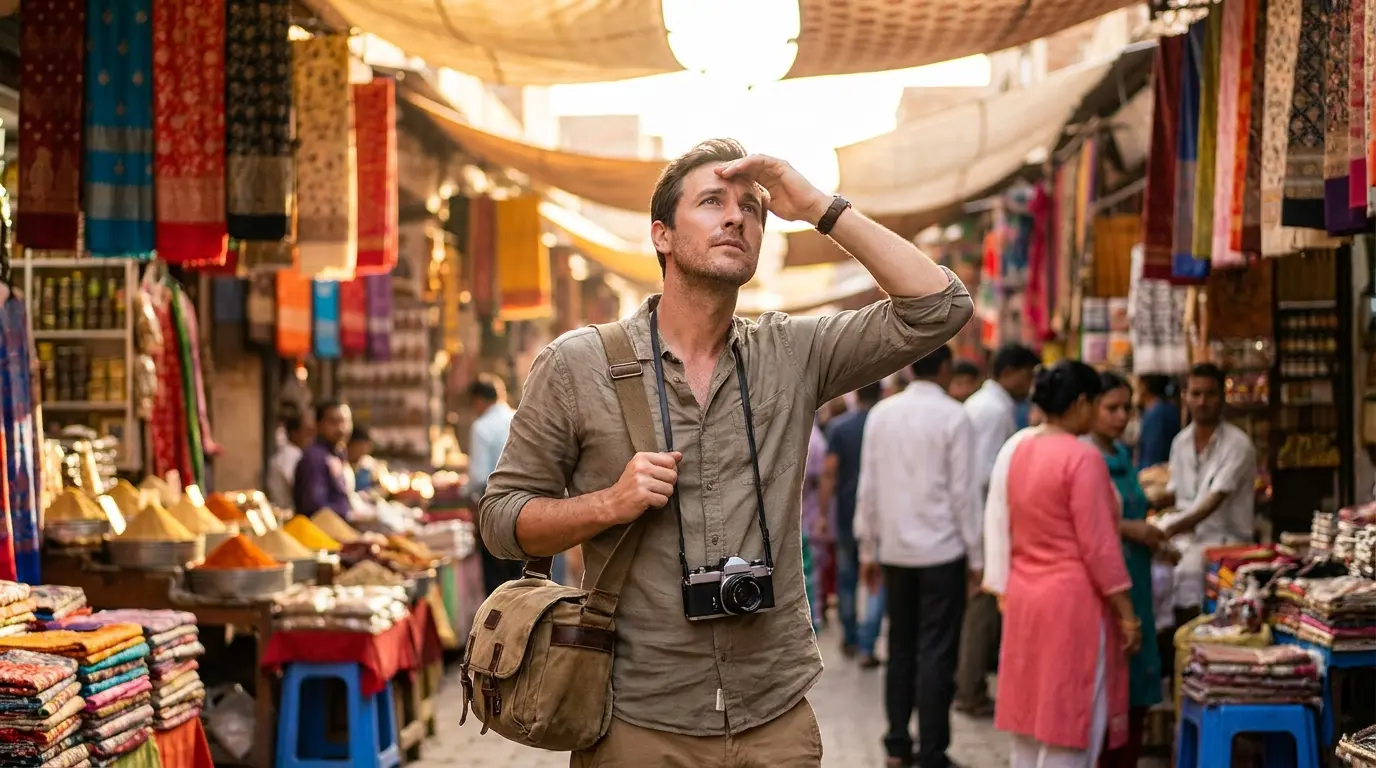
Most beginners rush. They see something interesting and immediately tap the shutter without really looking. Taking a few seconds to observe the light, the movement, and the background leads to much stronger photos.
- Check what is happening in the corners of your frame
- Notice where the light is falling before you raise the camera
- Wait for movement or people to settle into a natural position
Tip: A few extra seconds of observation saves you from dozens of throwaway shots.
4. Take Multiple Photos of the Same Scene
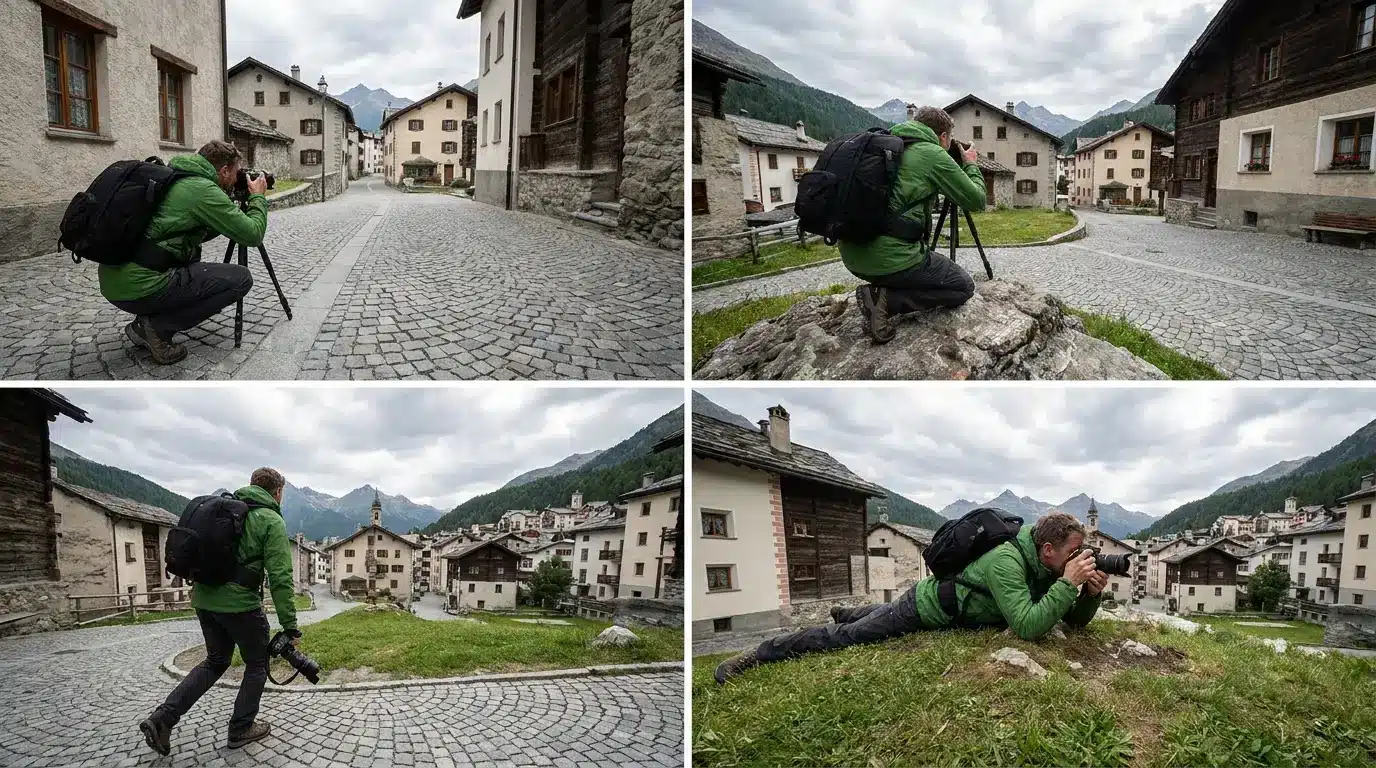
The first shot is rarely the best one. Small adjustments, like moving slightly to the left, crouching, or waiting a few seconds, can completely change the result. Giving yourself options to choose from later is always worth the extra clicks.
- Shoot the same scene from at least three different positions
- Try one wide shot and one close-up of the same subject
- Change your timing slightly to see how light or movement shifts
Tip: The best photographers shoot more, not less, and choose carefully afterward.
5. Change Your Perspective
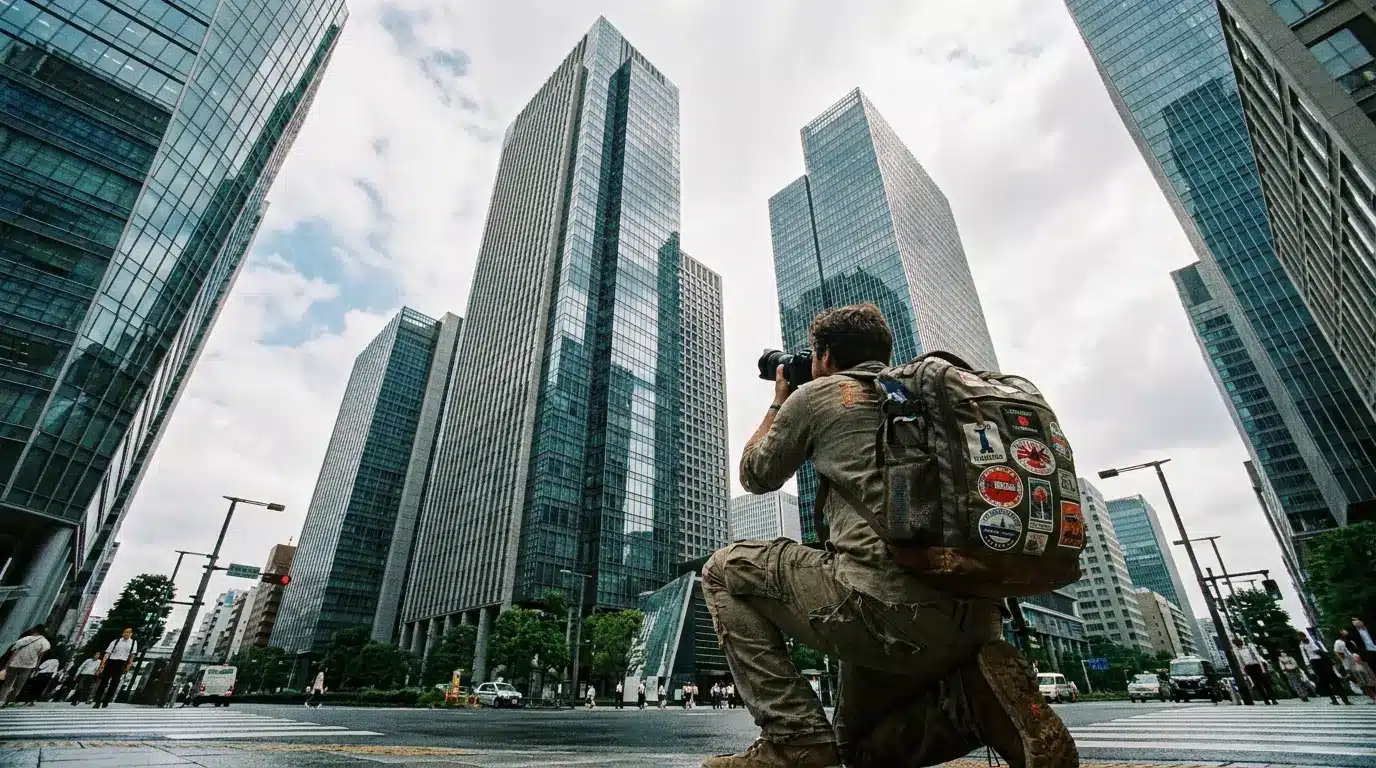
Almost everyone shoots at eye level, which is exactly why most travel photos look the same. Getting lower, shooting upward from below, or finding a higher vantage point instantly makes ordinary scenes look more interesting. Perspective is free and available to everyone.
- Get down low to make subjects look larger and more dramatic
- Shoot upward toward tall buildings, trees, or mountains
- Look for elevated spots like stairs, bridges, or hills for a wider view
Tip: If your photo looks like everyone else’s, change where you are standing.
Light and Weather Tips
Light is the single most important element in any photograph. Understanding how to work with natural light at different times of day will change the quality of your photos more than any other skill on this list.
6. Shoot During Golden Hour
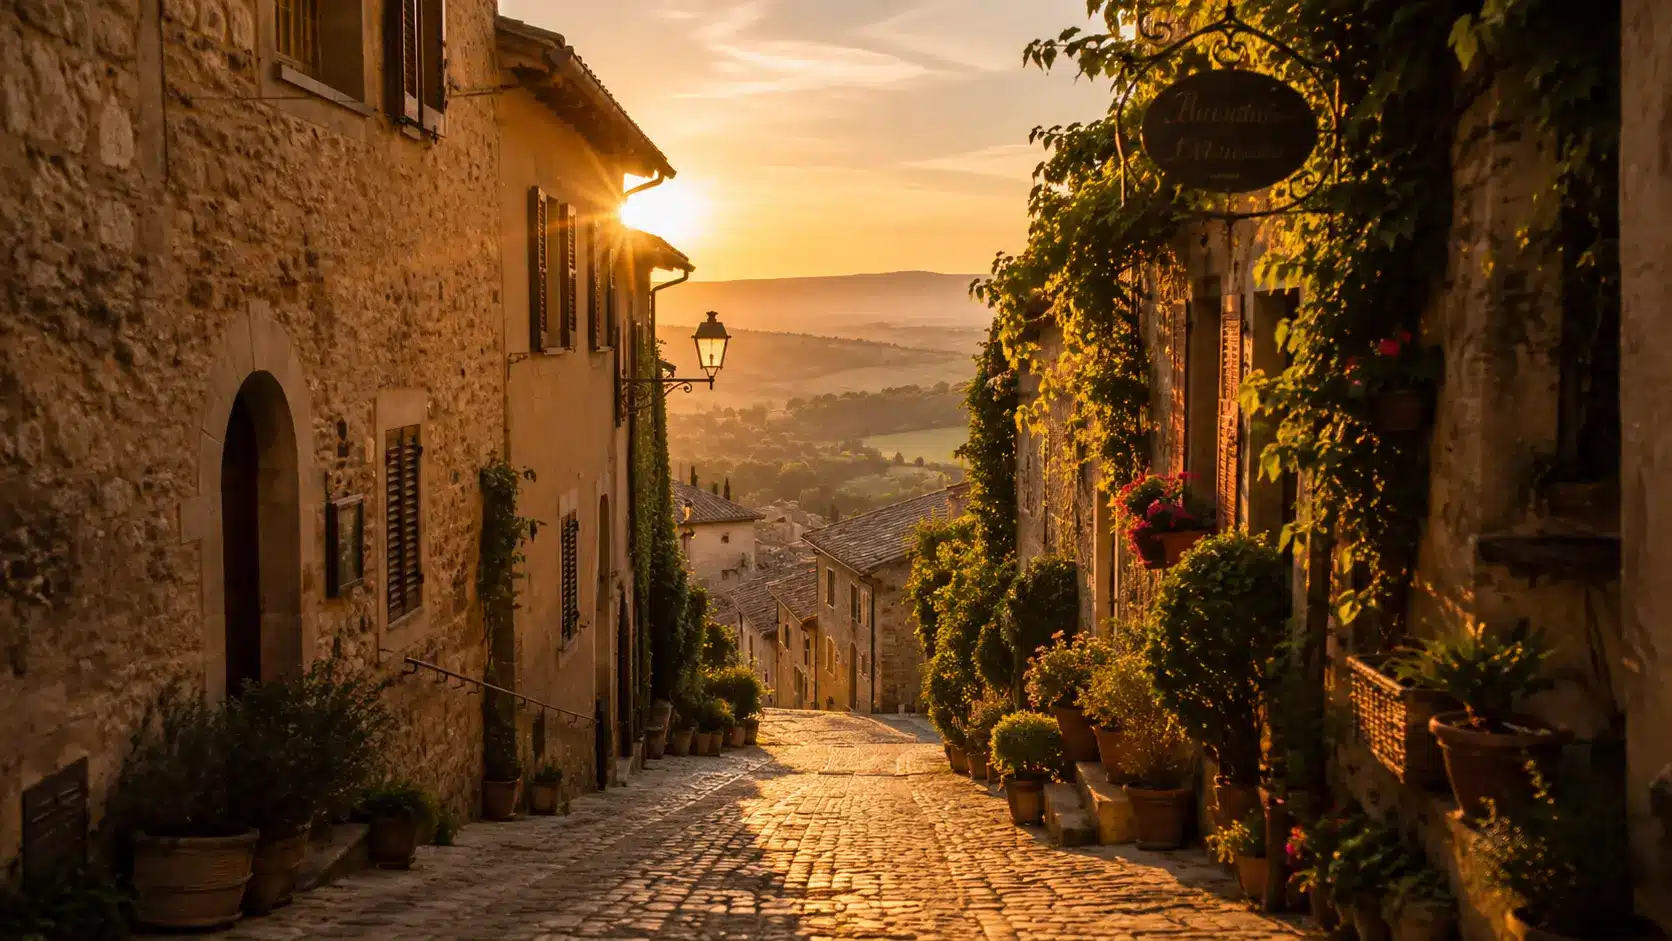
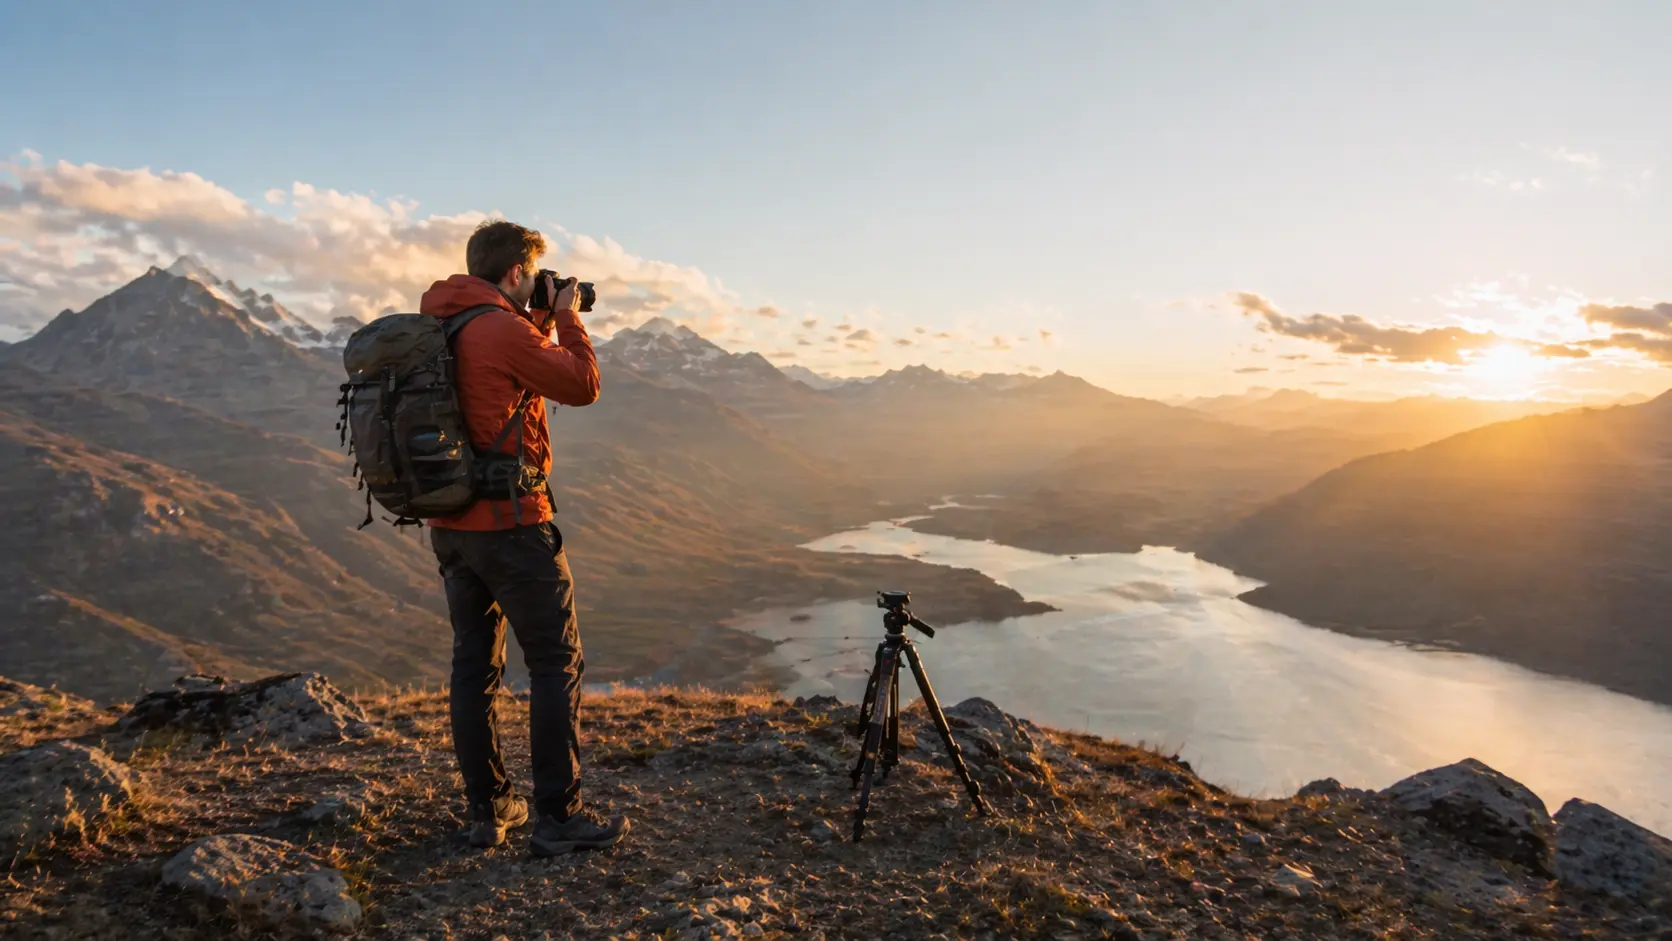
The golden hour usually refers to the soft light shortly after sunrise and before sunset. During this time, shadows are longer, colors are richer, and the entire scene looks more inviting.
Planning your most important shots around this window makes a real difference.
- Check local sunrise and sunset times before heading out, and read about thegolden hour scienceto understand why this light works so differently.
- Arrive at your location at least 15 minutes early to set up
- Shoot both with the light behind you and facing toward it for different effects
Tip: One golden hour session will teach you more about light than a month of midday shooting.
7. Avoid Harsh Midday Sun

Overhead sunlight creates unflattering shadows, blown-out highlights, and washed-out colors that are difficult to fix later.
This is the hardest time of day to shoot outdoors, especially portraits or landscapes. Adjusting your schedule around midday light makes the rest of your photography much easier.
- Use midday for indoor visits, meals, or rest instead of shooting
- If you must shoot outside, look for shaded areas with soft indirect light
- Shoot in the shade of buildings, trees, or covered walkways
Tip: Midday is the perfect time to explore interiors and save your outdoor shots for better light.
8. Use Shadows to Add Depth
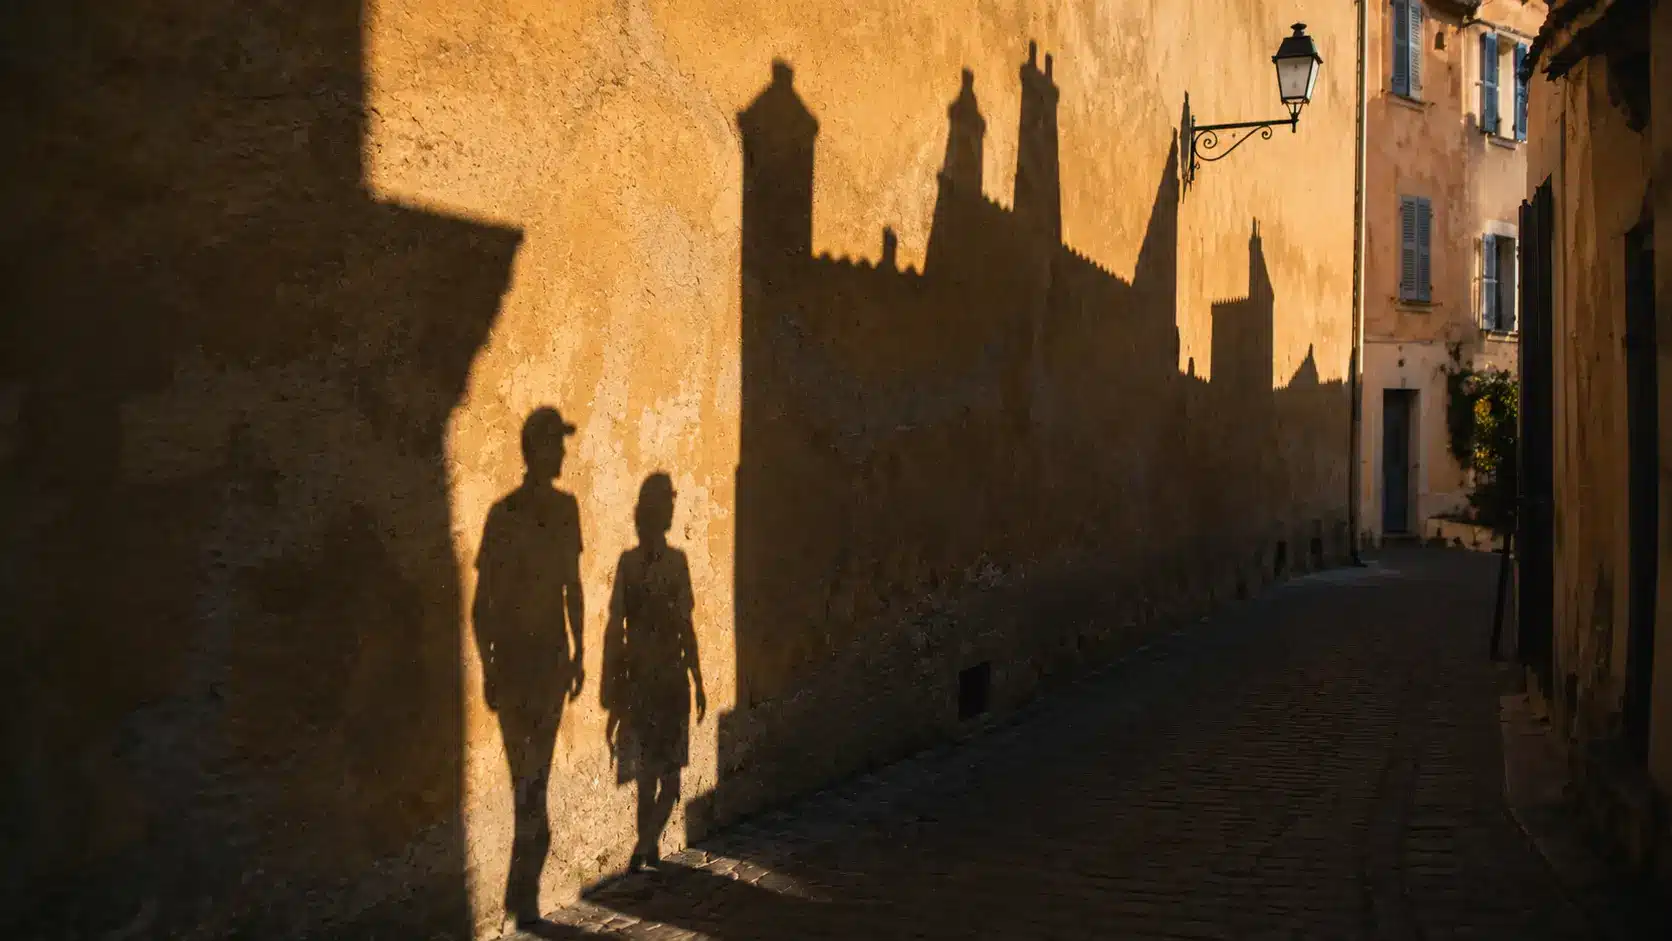
Shadows are not problems to work around; they are tools to use creatively. They add shape, contrast, and texture to photos that would otherwise look flat. Once you start noticing shadows, you will find them everywhere and start using them intentionally.
- Look for long shadow patterns on walls, roads, or floors
- Position your subject so its shadow becomes part of the composition
- Try shooting silhouettes against a bright sky or window for a dramatic effect
Tip: A strong shadow in your frame adds dimension that no filter can replicate.
9. Shoot in Different Weather Conditions
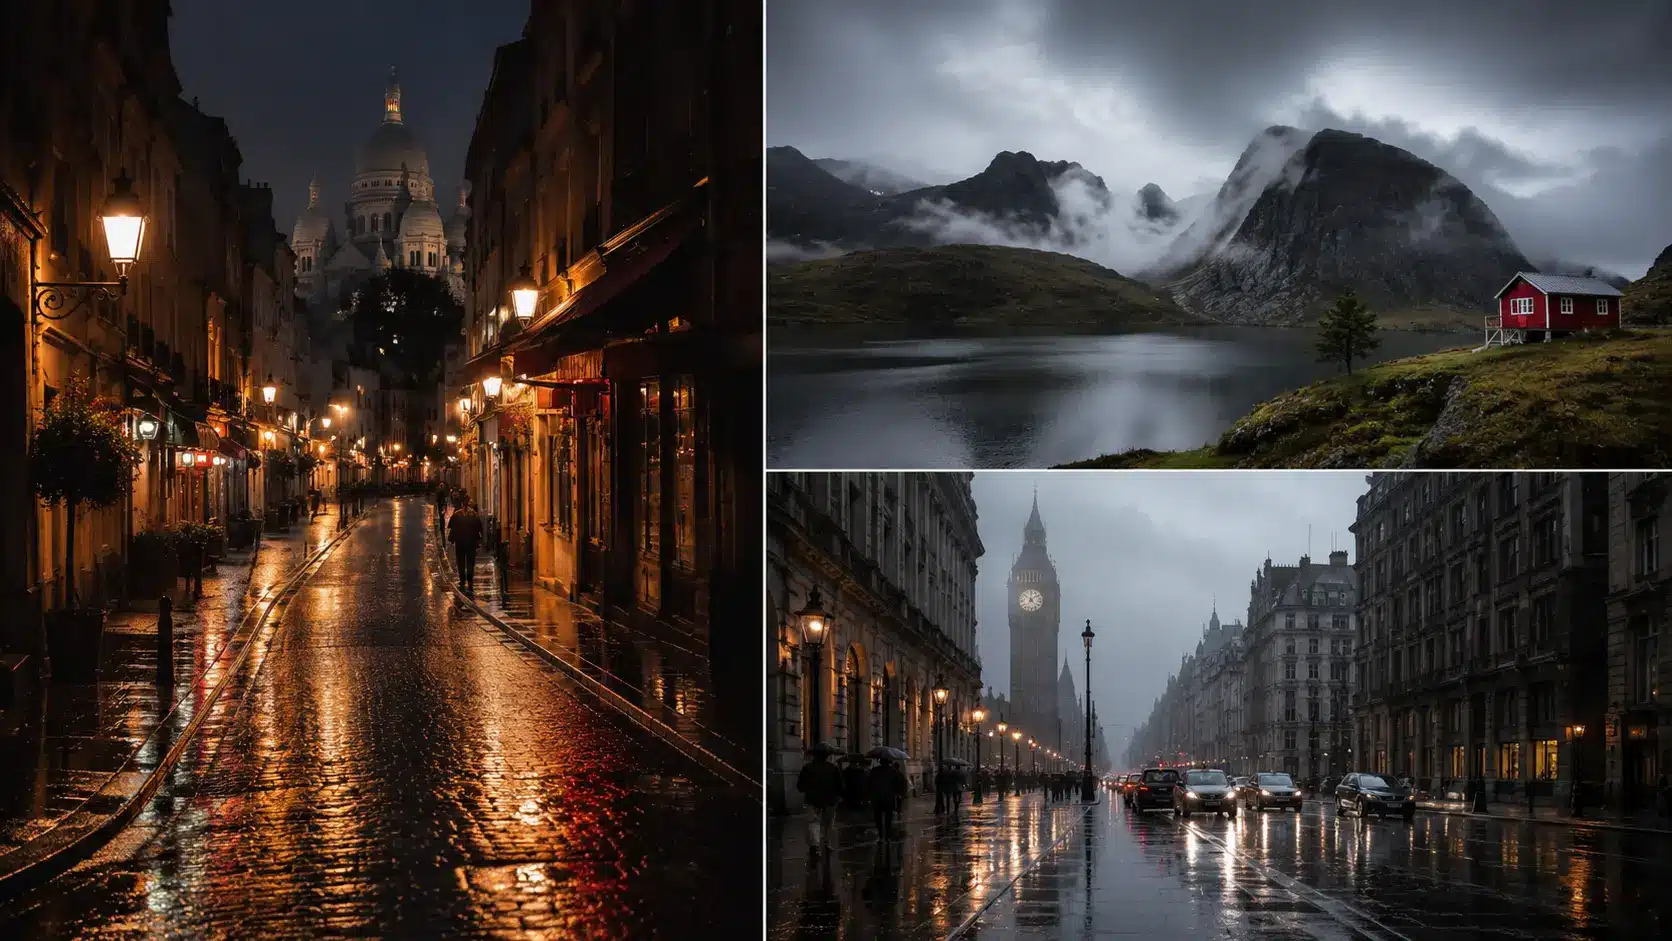
Rain creates reflections on streets and windows. Fog adds atmosphere and mystery to landscapes. Overcast skies produce soft, even light that works especially well for portraits and street photography.
Some of the most memorable travel photos come from weather that most people would walk away from.
- Carry a small waterproof bag or cover to protect your phone or camera
- Look for puddle reflections after rain for creative compositions
- Embrace cloudy days as natural diffusers for softer, cleaner light
Tip: Bad weather often creates better photos than perfect blue-sky days.
10. Learn to Work With Natural Light
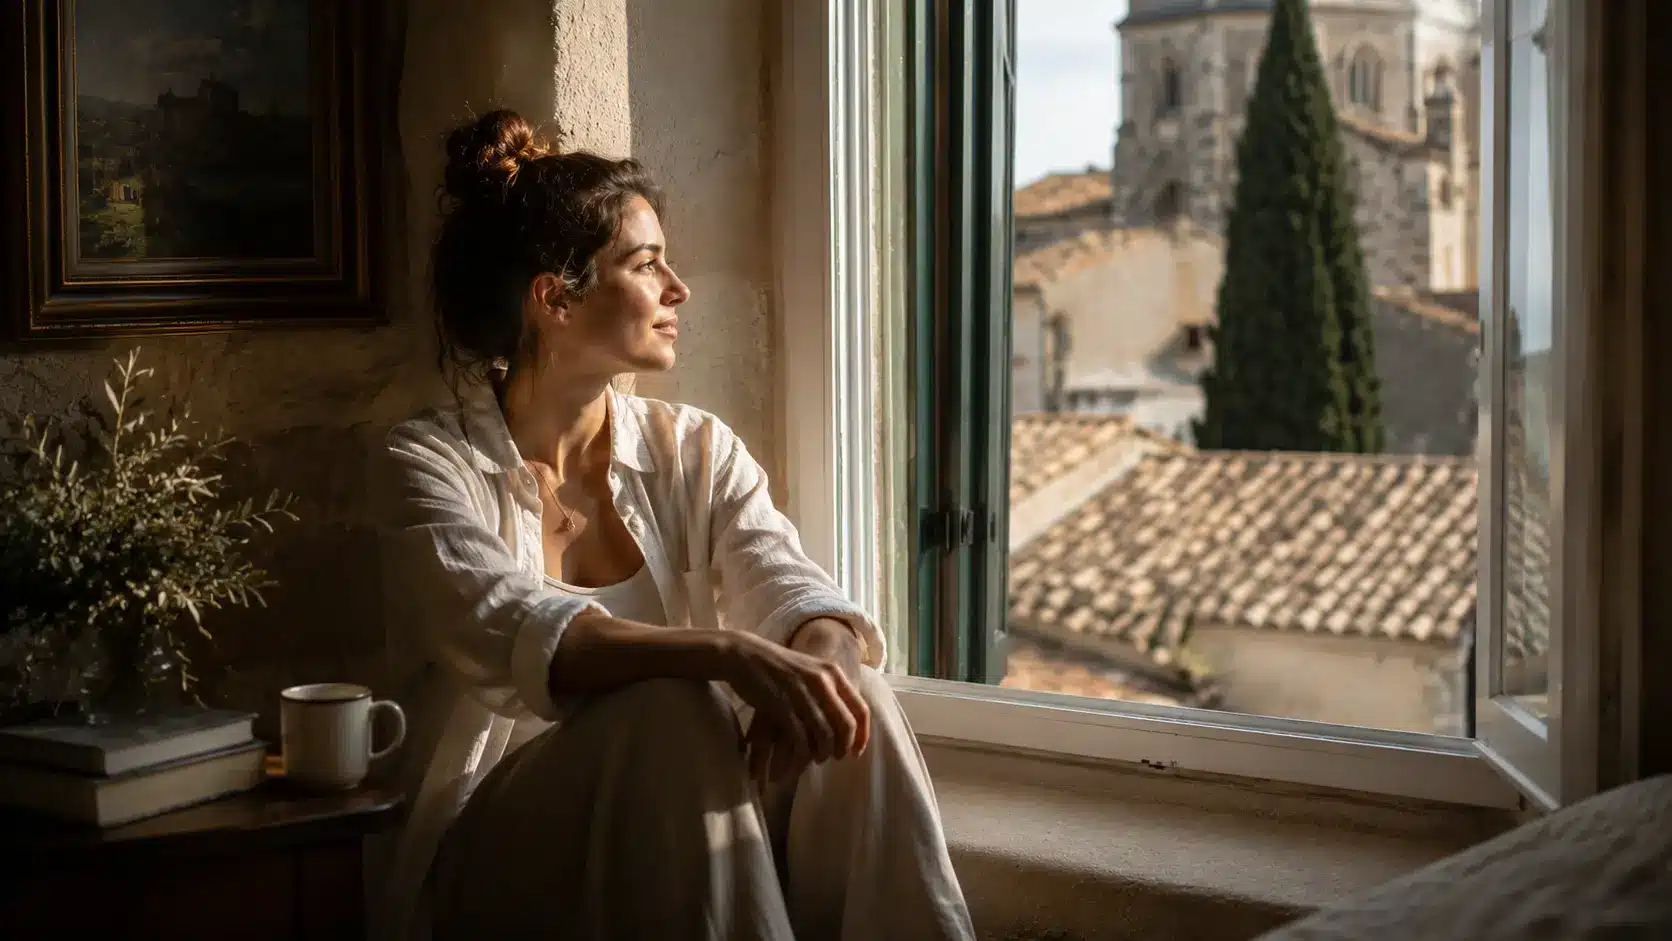
Natural light is always moving, and knowing how to position yourself relative to it is a skill that will serve you everywhere.
Instead of staying in one spot and trying to edit your way out of bad lighting, simply move yourself until the light looks right. This habit alone will eliminate most common lighting problems.
- Notice whether light is coming from the front, side, or behind your subject
- Move around the subject to find the angle where light falls most naturally
- Observe how light changes throughout the day at locations you plan to shoot
Tip: Moving two steps in any direction can completely change how light hits your subject.
Composition and Framing Tips
Knowing how to arrange what is inside your frame is what separates snapshots from intentional photos. These composition tips are simple to learn and immediately noticeable in your results.
11. Use the Rule of Thirds
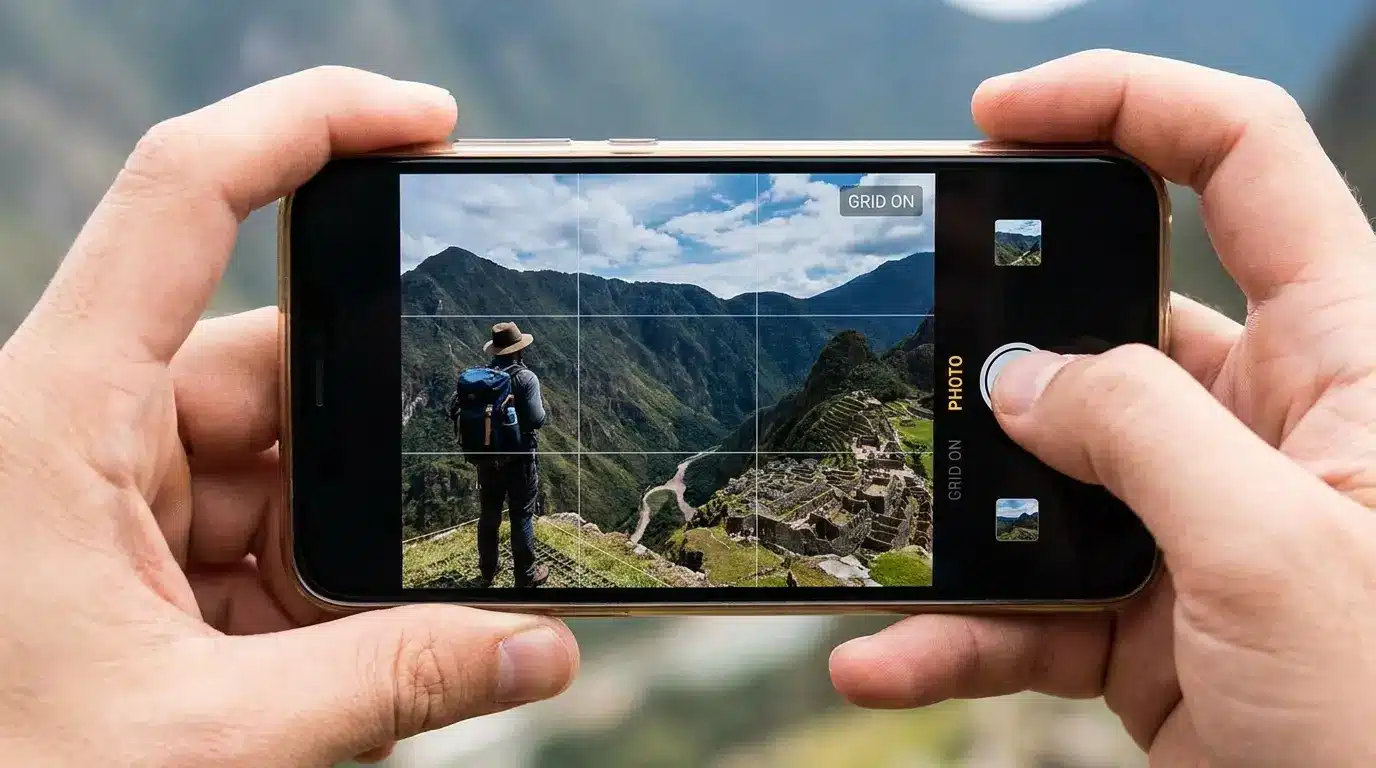
The rule of thirds is a basic composition guideline that divides your frame into a 3×3 grid. Placing your subject along the grid lines or at the intersection points rather than dead center makes photos feel more balanced and natural.
Almost every camera and phone has a built-in grid option you can turn on.
- Enable the grid overlay in your camera settings
- Place horizons along the top or bottom third, not the middle
- Put your main subject at one of the four intersection points on the grid
Tip: Centered photos can work, especially with symmetry, but off-center subjects often feel more natural for beginners.
12. Look for Leading Lines
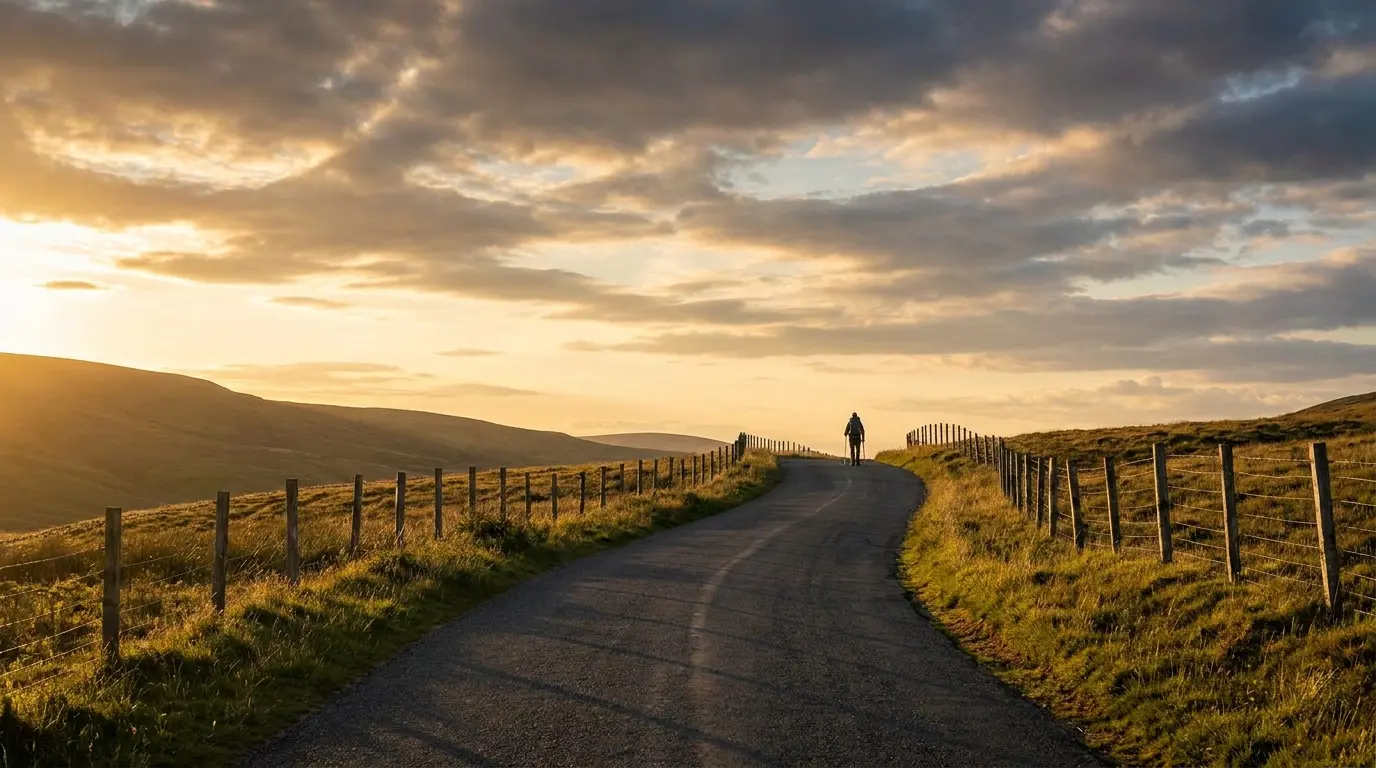
Leading lines are natural lines in a scene, like roads, rivers, fences, stairs, or paths, that draw the eye into the photo toward the subject.
They create a sense of movement and depth, making flat images feel more dynamic. Once you start looking for them, you will find leading lines in almost every scene.
- Position yourself so a road or path leads directly toward your subject
- Use rows of trees, lampposts, or railings to create parallel lines
- Look for diagonal lines rather than just straight ones for more energy
Tip: A strong leading line does half the storytelling work before the viewer even notices the subject.
13. Keep Backgrounds Clean
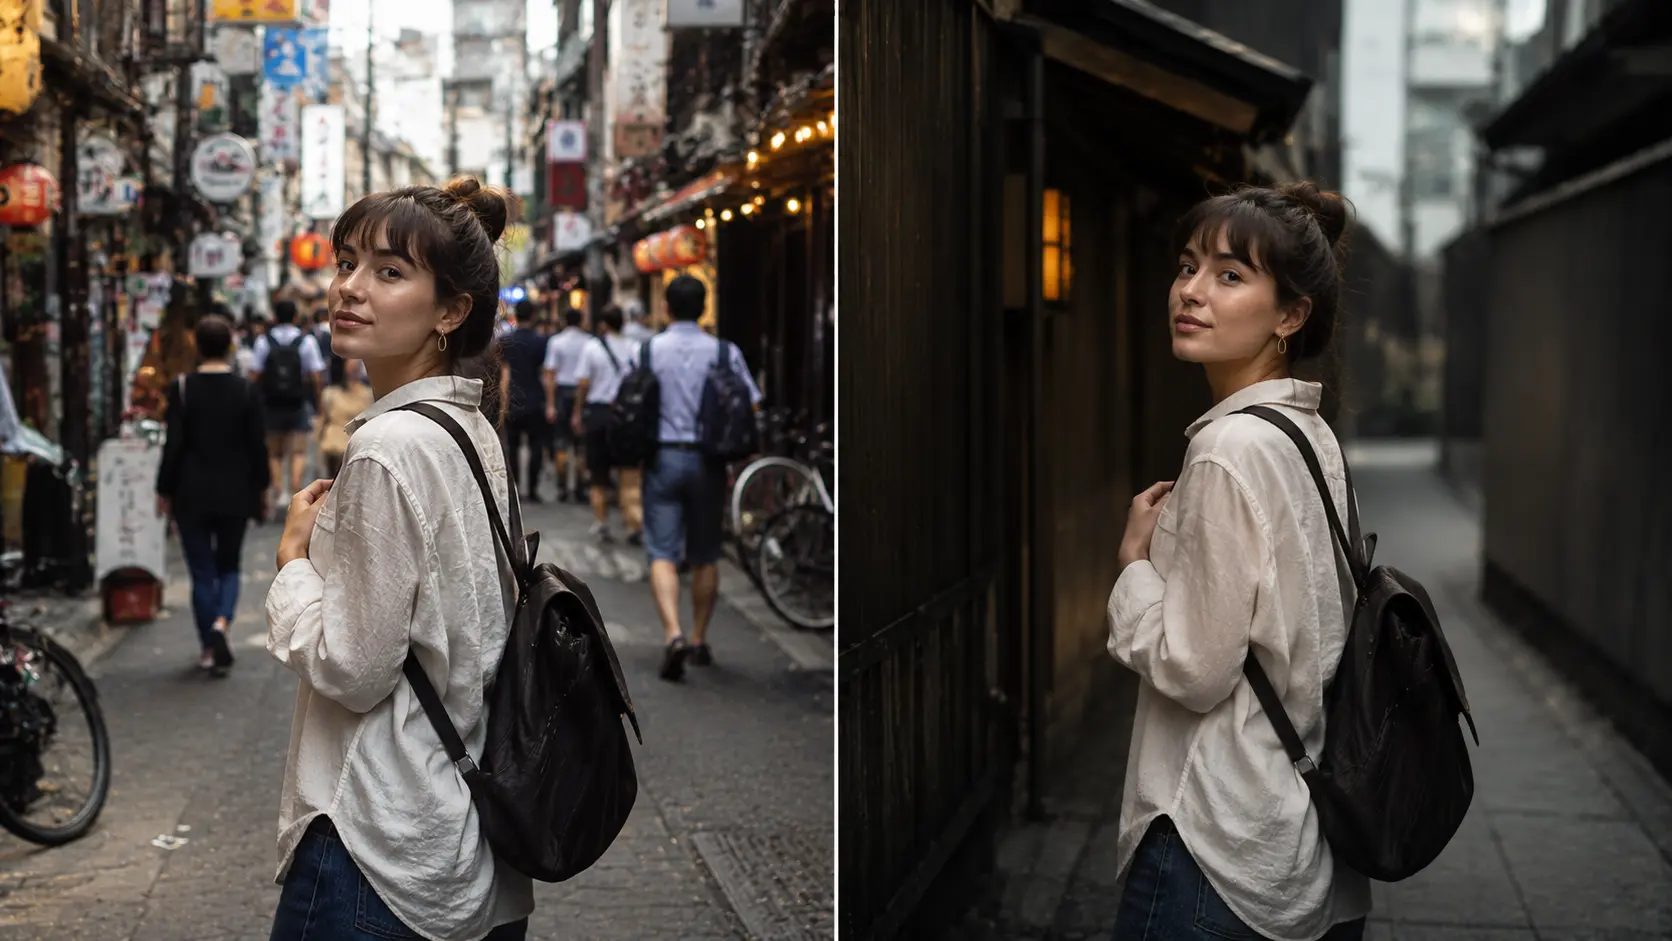
A cluttered or distracting background pulls attention away from your subject and weakens the photo as a whole.
Before pressing the shutter, check what is behind your main focus and make small adjustments to remove distractions. Sometimes stepping two feet to the side or crouching slightly lower is all it takes.
- Scan the edges of your frame for poles, signs, or people cutting in
- Use a plain wall, sky, or open space as a clean backdrop when possible
- Move your subject or yourself until the background feels simple and clear
Tip: A cleaner background makes your subject look more intentional and professional.
14. Use Foreground Elements for Depth
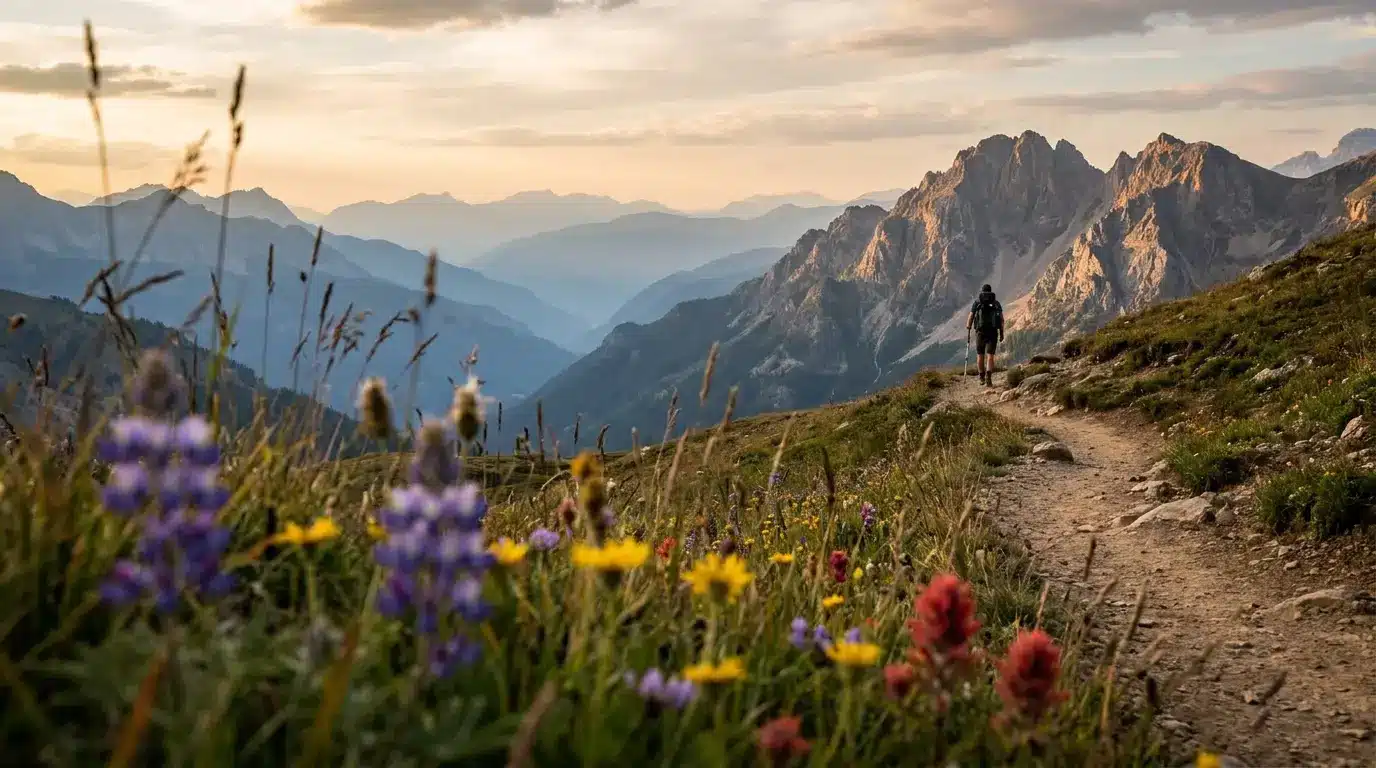
Adding something in the foreground of your photo, like rocks, flowers, a railing, or a window ledge, gives the image a three-dimensional feeling.
Without a foreground element, many landscape photos look flat and lifeless. This technique pulls the viewer into the scene rather than just showing it to them.
- Look for natural foreground elements already in the scene before adding anything
- Get low to make small foreground objects like flowers or stones appear larger
- Use out-of-focus foreground elements to frame the sharp subject behind them
Tip: Depth in a photo is created by what you include in the front of the frame, not just the back.
15. Frame Your Subject Naturally

Doors, archways, tree branches, tunnels, and windows can all be used to naturally frame your subject within the scene.
This technique draws the viewer’s eye directly toward the focal point and adds context about the location at the same time. It is one of the simplest ways to make a photo feel more composed and intentional.
- Walk through doorways or under arches and look back at what they frame
- Use overhanging branches or cliff edges to create a natural border
- Look for circular or curved frames, like tunnels or round windows
Tip: Natural frames tell the viewer exactly where to look without any arrows needed.
16. Be Clear About Your Subject
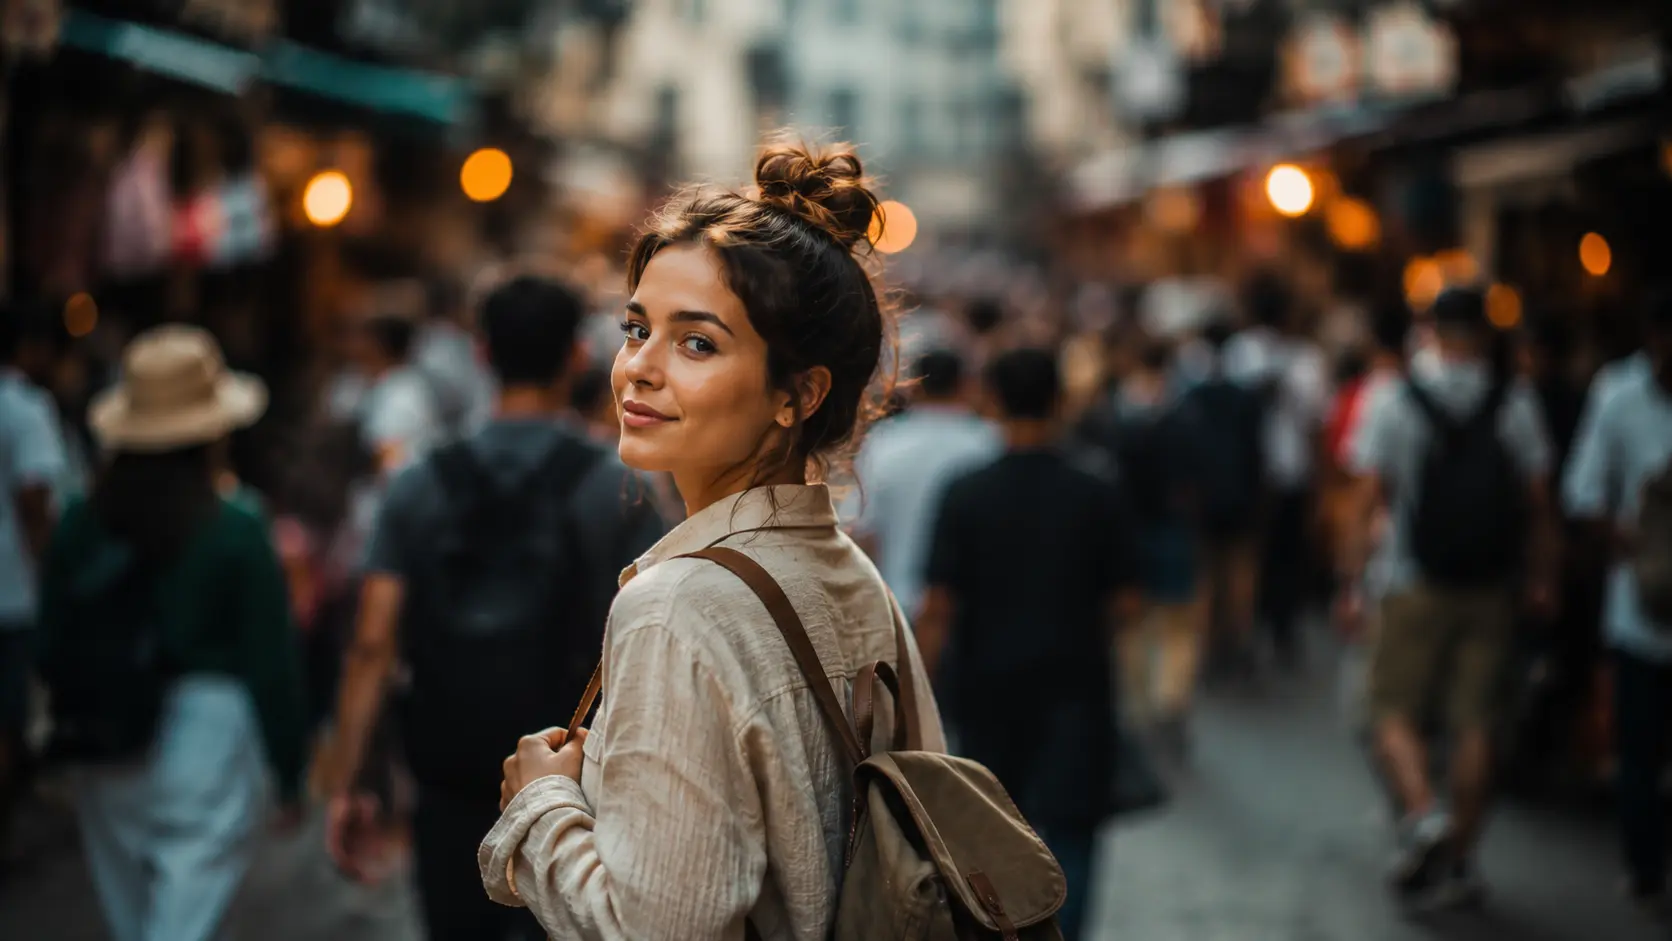
Every photo needs one clear focal point. If someone looks at your image and cannot immediately tell what it is about, the composition needs simplifying.
Getting closer, removing background clutter, or reframing until the subject is obvious will fix this almost every time.
- Ask yourself what the one subject of this photo is before shooting
- Get physically closer instead of zooming in to keep image quality sharp
- If the frame feels busy, remove one element at a time until it feels clear
Tip: Simplicity is not boring, it is the fastest way to make a photo feel powerful.
Capturing People and Real Moments
People bring travel photos to life in a way that landscapes alone never can. Knowing how to capture real, human moments respectfully and naturally is one of the most valuable skills in travel photography.
17. Take More Candid Photos
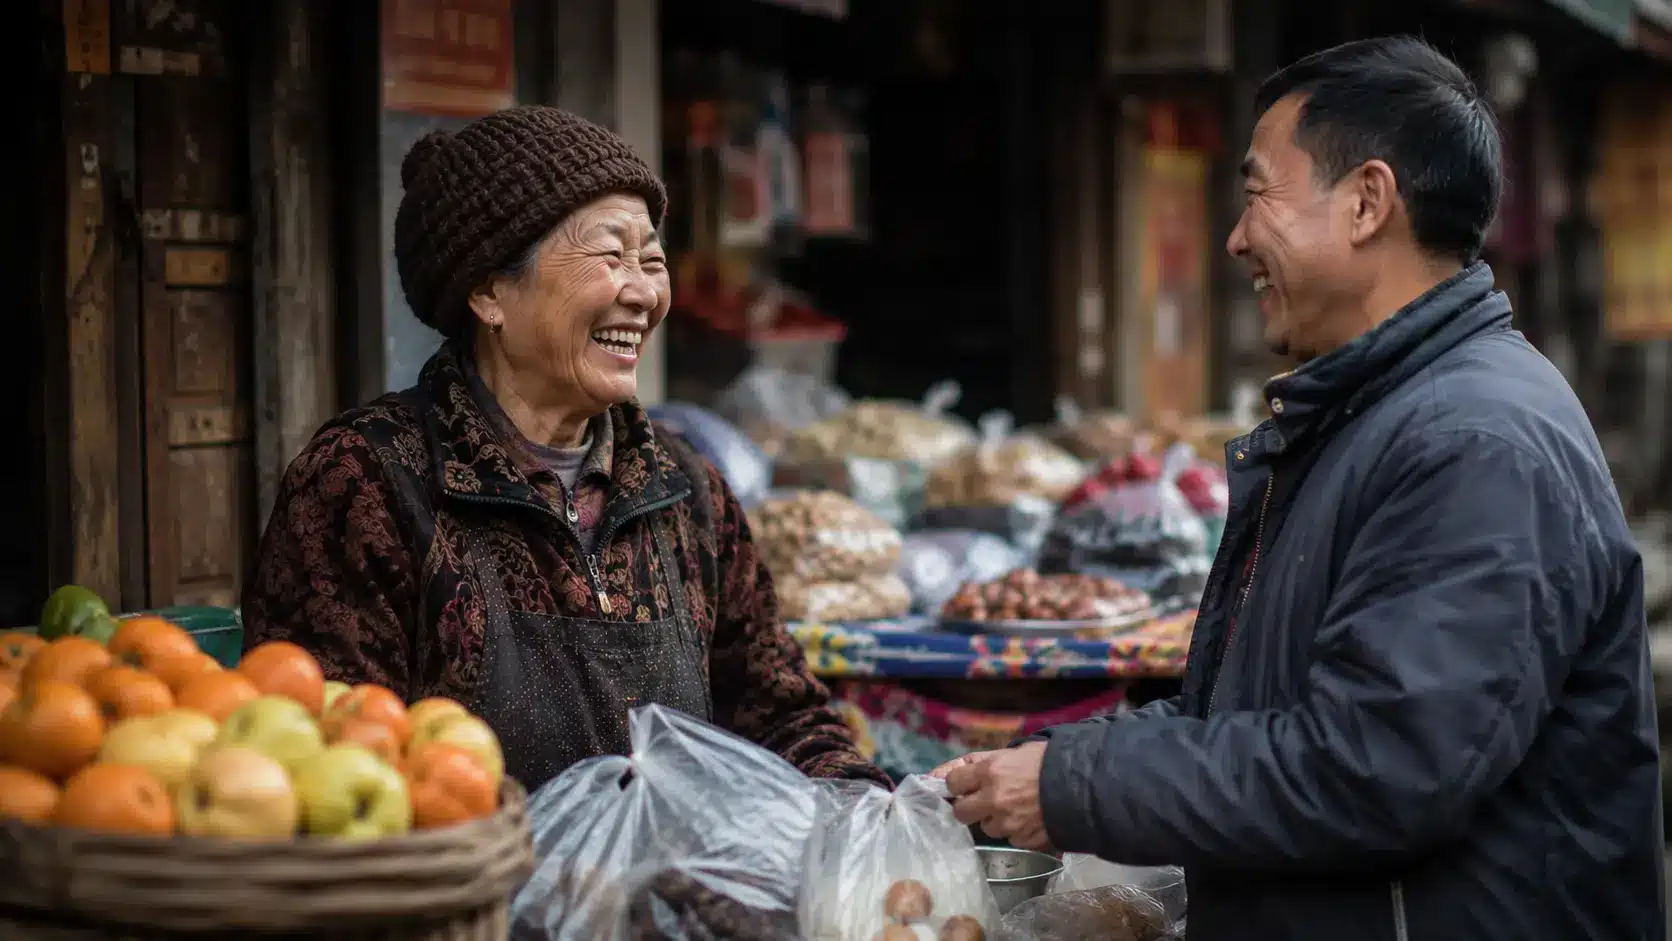
Posed photos often feel stiff and disconnected, but candid shots of people laughing, eating, working, or just moving through their day feel genuinely alive.
These photos are harder to get but much more rewarding when they work. Patience is the main ingredient here.
- Keep your camera ready and stay alert, rather than putting it away between shots
- Stay patient and keep your camera ready, but avoid photographing people in a way that feels hidden or intrusive.
- Give people time to forget the camera is there before capturing the shot
Tip: The moment someone stops noticing your camera is usually the moment worth capturing.
18. Respect Local Culture Before Shooting
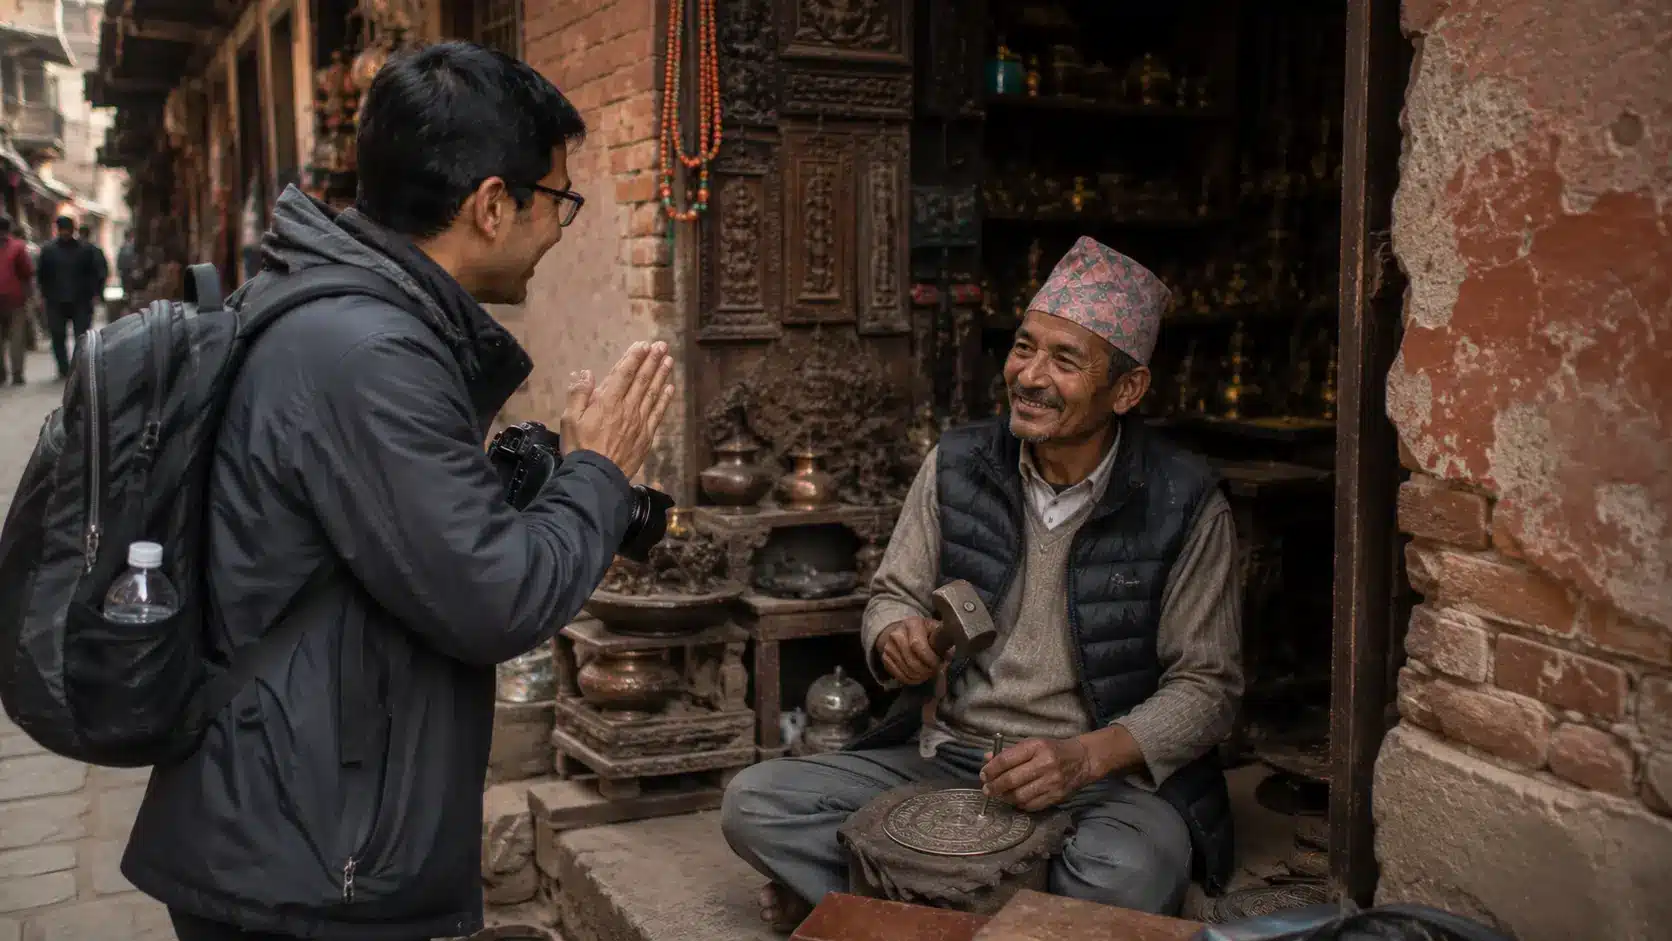
Photography customs vary widely around the world, and what feels normal in one place can be considered rude or intrusive in another.
Taking a moment to understand local attitudes toward being photographed shows respect and often leads to more genuine interactions. When in doubt, ask before you shoot.
- Review the photography ethics code before traveling, so you already know what respectful shooting looks like.
- Make eye contact and use a polite gesture to ask permission when needed
- Accept refusals gracefully and never push for a shot someone does not want to give
Tip: A moment of respect before shooting often leads to a more willing and natural subject.
19. Focus on Expressions and Small Details
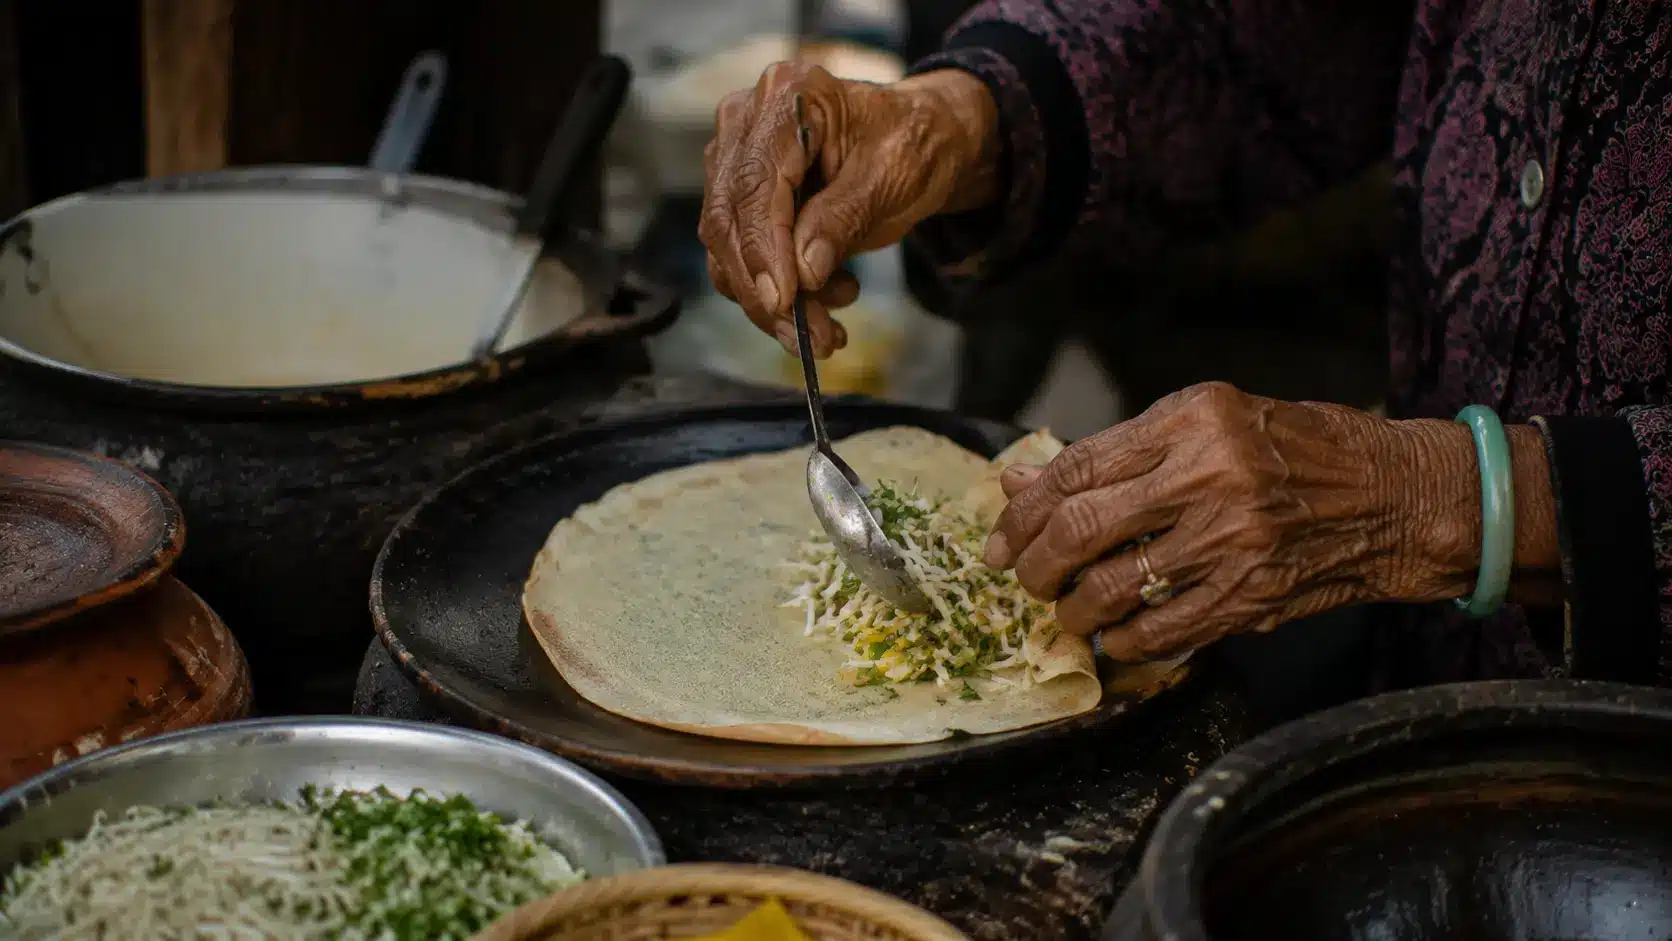
Hands holding a cup, a vendor arranging fruit, the wrinkles around someone’s smile. These small human details often tell a stronger story than any wide landscape shot ever could.
Getting close and looking for the specific rather than the general is what separates travel photography from simple sightseeing.
- Look for hands, faces, gestures, and textures that carry emotion or story
- Get close enough that the detail fills most of the frame
- Watch for repeated gestures or movements and time your shot to catch the peak moment
Tip: The smallest details are often the ones that make people stop scrolling.
When Your Plans Don’t Work OutCrowds at a famous landmark. A viewpoint covered in scaffolding. The weather is nothing like the forecast. These situations come up on almost every trip. The photographers who come home with the best shots are usually the ones who adapt rather than wait for conditions to improve. If a scene is too crowded, photograph the crowd itself. If the weather is bad for landscapes, look for architecture, street details, or reflections. If the landmark is a disappointment, turn around and see what is behind you. Constraints tend to push you toward more interesting photos than the original plan would have produced. Staying flexible is as important as any composition rule on this list. |
Travel Photography Gear Essentials
Your gear does not need to be expensive, but it does need to be practical. Having the right essentials with you means you will never miss a shot because of something avoidable.
20. Pack Lightweight Gear
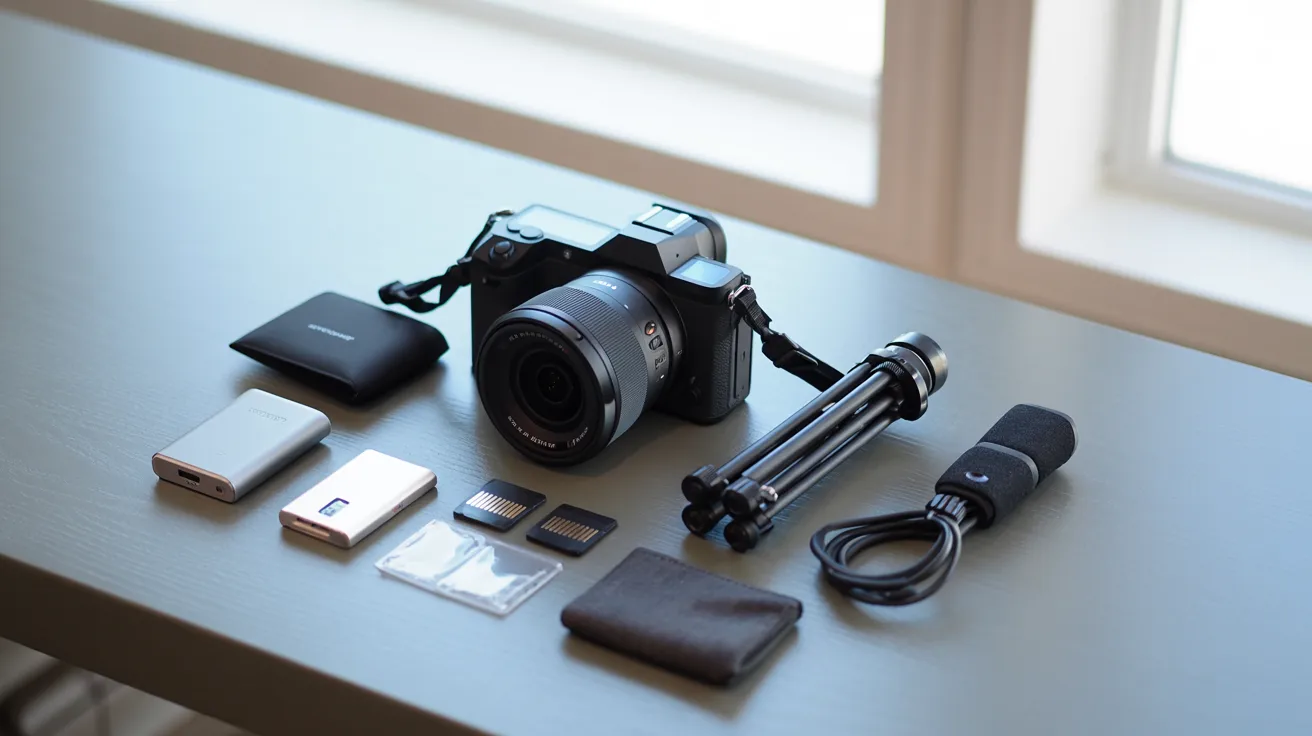
Keeping your gear lightweight makes travel photography easier and more enjoyable. Carrying too much equipment slows you down, drains your energy, and often means you explore less throughout the day.
For most beginners, a phone or a lightweight mirrorless camera is more than enough. Instead of packing every accessory you own, focus on carrying practical gear you will actually use while traveling.
Useful travel photography gear includes:
- Travel tripod or phone tripod for low-light shots and stable photos
- Extra memory cards or a cloud backup for storing photos safely
- Power bank or spare batteries to avoid running out of charge
- Lens cloth to clean dust, fingerprints, or water spots quickly
- Waterproof pouch or camera cover for rain and unexpected weather
- One versatile lens, such as a kit lens or 24–70mm equivalent, instead of multiple heavy lenses
Tip: The simpler your setup is, the easier it becomes to move freely and capture moments without constantly managing equipment.
21. Carry Backup Batteries and Storage
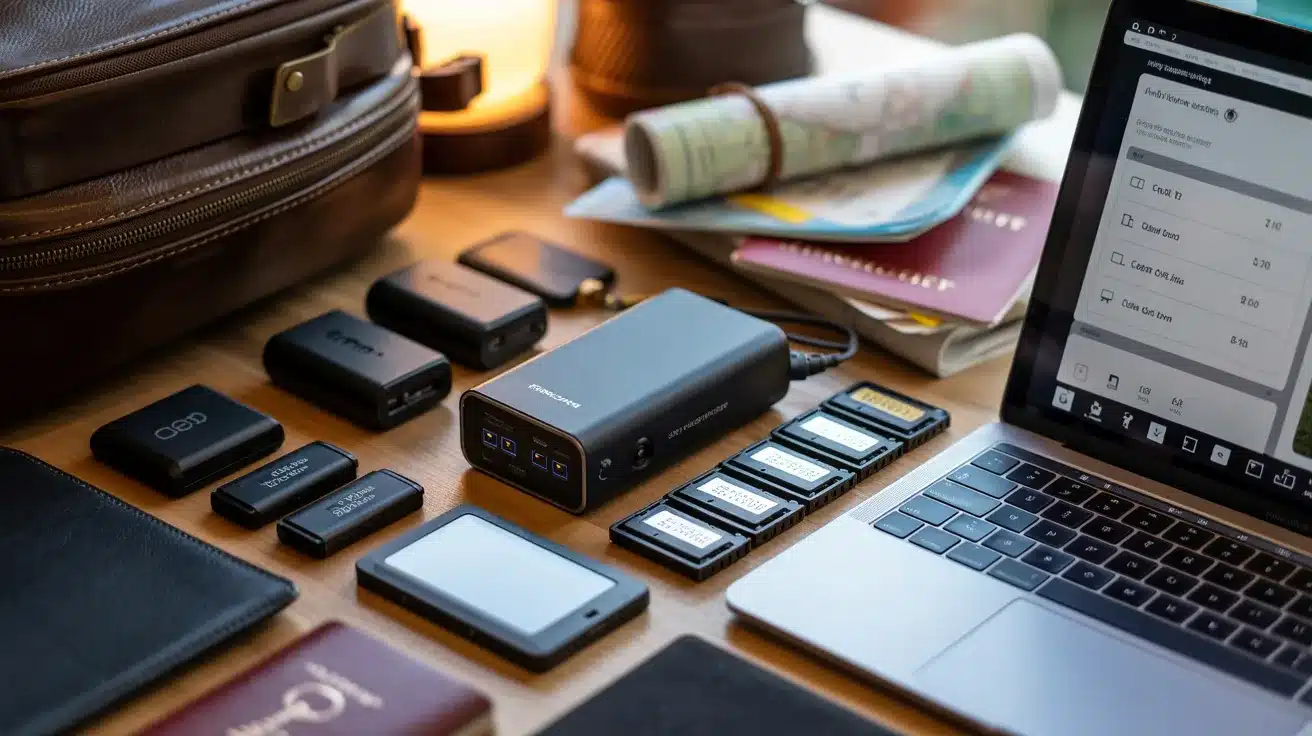
Long travel days drain batteries faster than you expect, and running out of storage in the middle of a scene is completely avoidable with basic preparation.
Missing a shot for a preventable reason is one of the most frustrating experiences in travel photography. A small investment in backup power and memory goes a long way.
- Pack at least one fully charged spare battery or a portable power bank
- Bring two or three memory cards instead of relying on one large one
- Back up your photos to cloud storage or a laptop at the end of each day
Tip: Preparation before the shoot is what keeps you shooting when everyone else has stopped.
Common Travel Photography Mistakes to Avoid
Even good travel photos can be ruined by small mistakes that are easy to overlook while shooting. Paying attention to a few basic habits can instantly improve the quality of your photos and save you frustration later.
Common travel photography mistakes include:
- Shooting every photo at eye level instead of trying different perspectives
- Ignoring the background and ending up with distracting elements in the frame
- Not backing up your photos regularly while traveling
- Using digital zoom too often, especially in low light, where the quality drops fast
- Photographing only landmarks and missing smaller details that tell a story
- Forgetting to clean your phone or camera lens before shooting
Most of these mistakes are simple to fix once you become more aware of them while shooting.
Simple Editing Tips to Improve Your Travel Photos
Editing is about refining what you captured, not fixing everything from scratch. Small, controlled adjustments usually give better results than heavy edits.
- Adjust Brightness and Contrast: If a photo looks too dark or flat, a small boost in brightness and contrast can bring it to life. Keep changes subtle for a natural look.
- Fix Colors Naturally: Adjust the white balance to correct a yellow or blue cast. Light saturation tweaks can improve colors without making them look fake.
- Keep Edits Realistic: Aim to reflect how the scene felt, not turn it into something artificial. If editing stands out too much, it is usually overdone.
Good editing should enhance the moment, not overpower it. The best travel photos usually look natural enough that people remember the place, not the filter.
Final Thoughts
Good photos do not come from luck; they come from practice and awareness. Light, timing, and simple composition choices can completely change how your shots turn out.
These travel photography tips work best when used often, not just remembered.
Start small, try one idea at a time, and notice how your results improve with each attempt. Your next trip or even a short walk nearby can become a chance to improve your skills.
If any tips helped you, drop a comment and share what made the biggest difference in your photos.
Frequently Asked Questions
How Do I Take Good Travel Photos with a Phone?
Use natural light, avoid digital zoom, and focus on composition, like framing and leading lines. Cleaning your lens and keeping your shots steady can also make a noticeable difference.
How Many Photos Should I Take While Traveling?
There’s no fixed number, but taking multiple shots of the same scene increases your chances of getting a strong image. Small changes in angle, timing, or movement can completely change the result.
Is it Better to Shoot in Raw or JPEG for Travel Photography?
RAW files give you more flexibility in editing, especially for adjusting light and colors. However, JPEG is easier to manage and works well if you don’t plan to make many edits.