
For my birthday 3 years ago, Idan bought me the most surprising gift I’ve ever received–a Cricut Explore Air 2! He had heard me talking about it across the table at brunch with some friends months beforehand, and somehow remembered that I wanted it. What a guy, right? Good thing I’m marrying him.
When I first opened the box, I was overwhelmed to say the least. All the instructions, tools, and accessories made me anxious and I wasn’t sure of the best way to get started. I swear I was about the throw the machine out the window before a lightbulb finally went off and, over time, I became a bit of a Cricut pro.

I have used my Cricut (cricket, like the bug) for soooo many things in the past 3 years I’ve had it, including party and home decorations, bachelorette party goodies, and even addressing envelopes! It’s my favorite thing I own, and if my house was on fire, it’s probably in the top 5 things I would grab on the way out.
To save new Cricut users the headache I had when I first started, here’s my Cricut Beginners Guide! I should note that I do not have the Cricut Maker (yet!) and will update the post if/when I get one! This Cricut Beginners Guide is specifically for the Cricut Explore Air 2.
There’s a lot of choose from when it comes to accessories for your Cricut machine, and it’s easy to get overwhelmed with options. If you walk into any Michaels store, you’ll see a whole aisle filled with all sorts of goodies to take home. You’ll eventually learn your own preferences for the best Cricut accessories to buy, but, in my opinion, here’s what everyone should have to start:

Quick Note: If you want to skip ahead to all the products I recommend, you can see them all compiled here.
Basic Tool Set
This tool set is life. The tools I use the most from it are the scraper tool and the weeding tool (which always reminds me of a dental tool, ha!).
Mats
I use my regular grip mats the most, and use them exclusively with vinyl.
I use my light grip mats the second most, and use them for paper/cardstock projects. Those are what’s pictured in this post!
Make sure you always replace the plastic cover when they’re not in use!! And try not to touch the mats with your fingers–the oils on your skin will eventually make the sticky mats less sticky.

Vinyl
Iron-On Vinyl
There are so many Iron-On Vinyl options to choose from! This is what you’d use to embellish shirts, hats, backpacks, pillows, blankets… pretty much anything with a fabric backing. I use the Cricut Everyday Iron On Vinyl the most, but other popular options are Cricut Iron On Lite, Cricut Iron On Foil, and Sportflex Cricut Vinyl Iron On. Important note: around the web and the Cricut community, iron-on vinyl is often referred to as HTV (heat transfer vinyl).
You can use Iron-On Vinyl with a regular clothing iron (use a dish towel in between the garment and the iron). However, if you get really into it and start doing a lot of iron-on projects, I cannot recommend Cricut’s EasyPress enough. It took me a while to bite the bullet, and once I did, I was kicking myself over waiting so long. The EasyPress is not a total necessity, but definitely something to consider if you end up doing a lot of iron-on projects.
Regular Vinyl
Overall, there are generally 2 types of vinyl: permanent and removable. There are other types of vinyl, but these are the 2 main categories.
You’d use permanent vinyl for things like car window decals, embellishing cups, mugs, and plates, and mailboxes–basically anything that needs to be resistant! Here is a nice starter pack for permanent vinyl! There are more color options if you click through.
You’d use removable vinyl for things like mirror decals and bathroom decals. Here is a cute starter pack of removable vinyl! Click through for more color options.
If you buy regular vinyl (permanent or removable), you absolutely must buy transfer tape. I missed the memo on this when I first bought my Cricut and had one heck of a time trying to transfer everything over. Don’t make the same mistake I did!
**A note on vinyl: You do not need to buy Cricut branded vinyl! You can always shop with 651 Vinyl or Expressions Vinyl. I’ve shopped with both and can vouch that they have quality products for a lower price tag.**
Cardstock
I have tons and tons of cardstock lying around, which I usually buy on Amazon or at Michaels using 40% off coupons. It’s nice to have on hand because you never know when you’ll be tasked with making a banners for a co-worker’s birthday, or a card for a loved one. I like to have a wide range of colors available for myself!

Basic Cricut Terminology
There’s a whole dictionary of Cricut terminology, but here’s what you need to know the most:
HTV – Heat Transfer Vinyl (or, iron on).
631 – Removable vinyl (Indoor, used for stencils temporary wall designs and window cling).
651 – Permanent vinyl (Outdoor, weatherproof).
Weeding – To weed is to remove excess vinyl from your cut-out design.
Mirror – This is what you do to make sure your iron-on projects come out correctly! You do not need to mirror for regular vinyl projects–only iron-on. You’ll probably forget to mirror a few projects at first–but you won’t keep forgetting when you realize that vinyl is expensive :)
Weld – This is important to use when you are putting together script/cursive letters and want them to be one word. Move the letters close together so they touch, then click “Weld” and they will morph together into one piece! Word to the wise, though: welding cannot be undone once you have saved a project.
Attach – This keeps images/fonts as they are on mat when cutting, so that they don’t cut all separately. This *can* be undone at any point (kind of like grouping).
Group – This groups objects together so you can more easily keep track of them.

How to make your first project
First, you’ve gotta download Cricut Design Space!
I make a lot of my graphics in Adobe Illustrator, which I’ve been trained in for a while. If you’re not used to it, I don’t necessarily recommend downloading it just yet–you’ll be fine in Cricut Design Space! What would a Cricut beginners guide be without a little tutorial?
For this tutorial, we’ll be making a donut!

First, create a circle shape using the “shapes” tool. Make sure the linetype is “cut.” I changed the color to pink because that’s what color paper I’d be using.

Then, add a second circle (make that one white), and resize to fit in the middle of the pink circle. Select both circles, then click “slice” (bottom right corner).

After you slice it, you’ll need to remove the original circle and the extra circle it created. One donut, coming right up!

I added the sprinkles by adding a square shape, unlocking the proportions (little lock icon on the bottom left of the graphic), then resizing to rectangular shape. Then I duplicated and rotated the shape over and over again until I had a bunch of sprinkles! Then I selected all those shapes and grouped them together so I can control them more easily. Before cutting, it’s important to “attach” them so they all print together! If you don’t use “attach,” your final page will look like this:

Once you click “attach,” it will cut perfectly like this so you can line them up when the pieces are ready to go!

When going to cut, the Cricut will automatically assume you have 2x different colors to work with since there are 2x colors on the project. From there, you load your cutting mat into the machine, make sure the dial is set to the correct cut setting (vinyl, cardstock, etc.) and cut away! The machine will tell you which color to load first. Once the first page is cut, you load the next one and keep going until the project is done!

Other Resources
I am a big fan of Facebook Groups, and my two favorites for Cricut ideas and inspiration are:
Cricut Crafters & Makers hosted by JenniferMaker
All Things Cricut Wedding
I highly recommend joining those two Facebook groups and using the search box to find whatever you need! There are hundreds and hundreds of helpful posts and photos.
//
I hope this Cricut beginners guide was helpful! If you have ideas for anything else I should add, comment below or contact me.
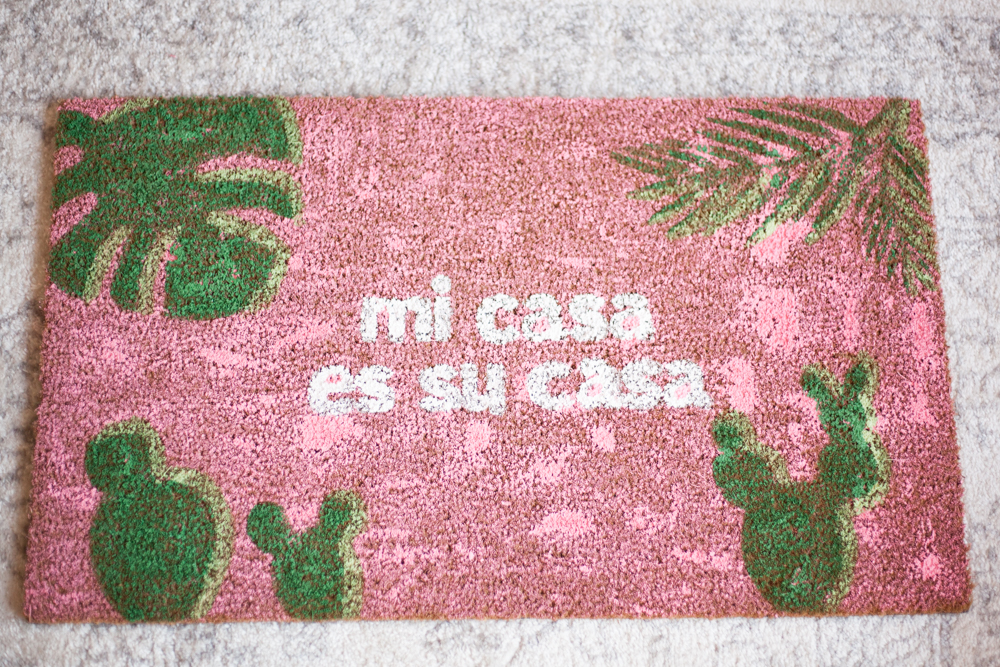
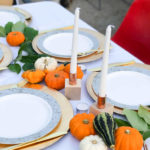
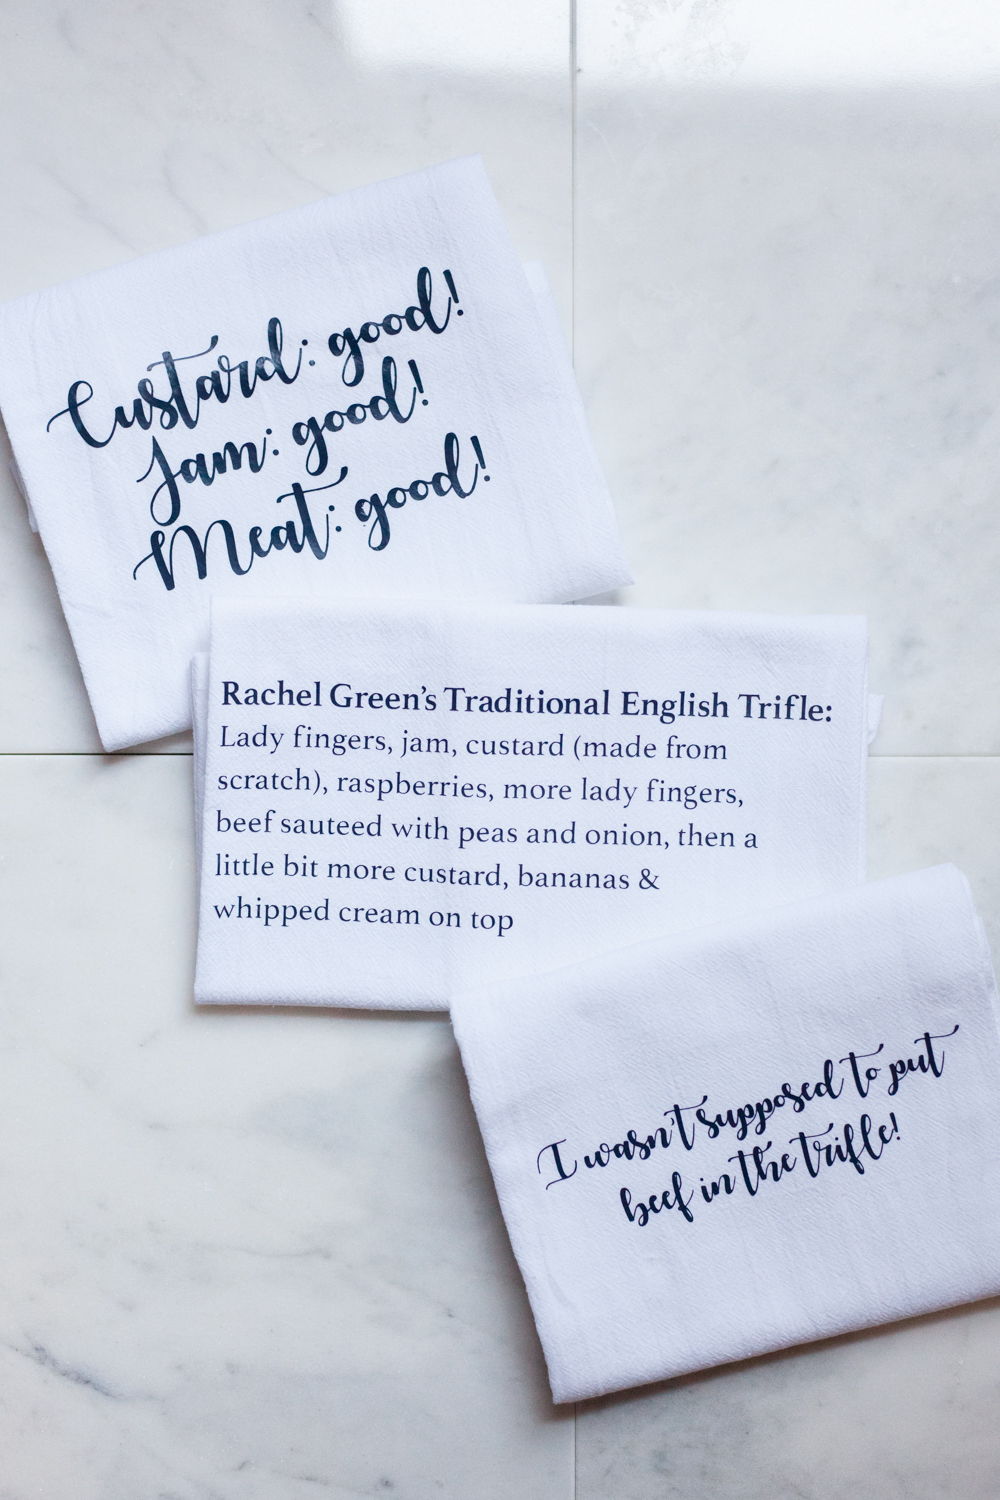
Before you go, a few project ideas….


Hocus Pocus-themed decorations