
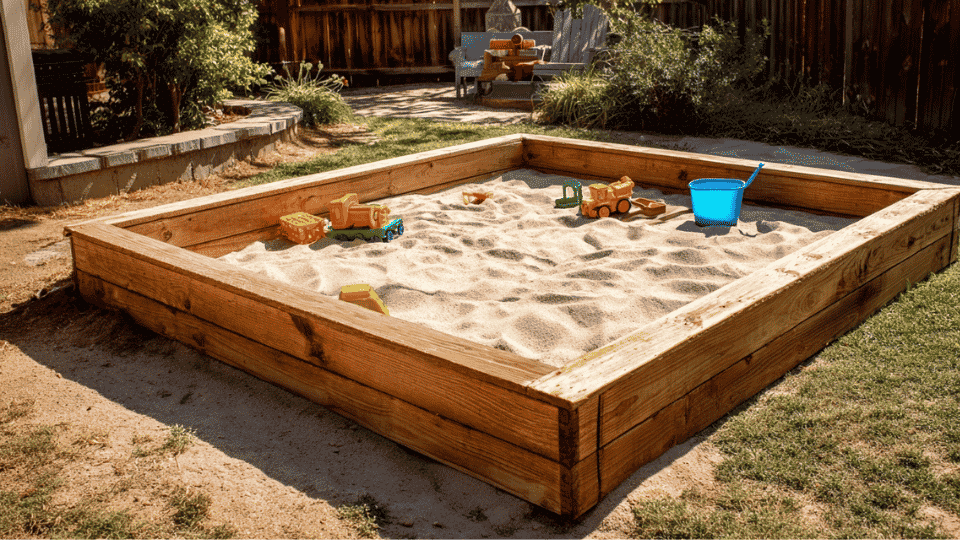
A diy sandbox in your backyard gets kids outside faster than screen time ever could. A sandbox works for everyday play, but it really shines during birthday parties. Kids spread out less across the yard when they have a central spot to dig and build.
But building one yourself? That’s where most parents hit a wall. You need the right materials, decent planning, and a weekend to spare. It’s simpler than you think. No fancy tools required, and your wallet will thank you.
Plus, there’s something about watching your kids play in something you built with your own hands. Ready to turn that empty corner of your yard into their new favorite spot?
Planning Your DIY Sandbox Project
Before you grab your tools and start digging, take a minute to think things through. A little planning now saves you headaches later, and your kids won’t know the difference between a rushed job and a smart one.
- Location matters: Pick a spot where you can see the sandbox from your kitchen window. Flat ground works best, but a slight slope is fine too.
- Size it right: A 4×4 foot box fits most yards and gives two or three kids enough room to play without crowding each other.
- Budget check: You’ll spend anywhere from $50 to $150, depending on wood quality and whether you add extras like a cover.
Now that you’ve got the basics down, you’re ready to move on to materials. Time to make this thing real. Trust me, the actual building part is easier than you think.
Materials
Tools
|
Step-by-Step Building Instructions
Building your diy sandbox takes about two hours, maybe three if you’re taking your time. Break it down into these simple steps, and you won’t get overwhelmed. Just tackle one thing at a time.
Step 1: Prepare the Ground
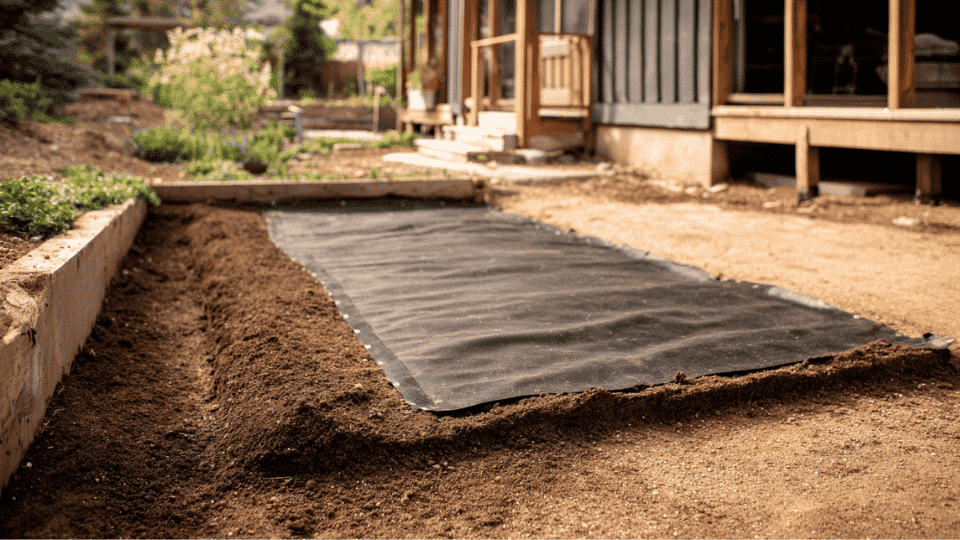
Clear your chosen spot of grass, rocks, and any junk lying around. You want a flat surface to work with. Dig down about 2 inches across the whole area, then lay your landscape fabric. This stops weeds from popping up later and keeps the sand cleaner. Tamp it down so it stays put.
Step 2: Cut and Assemble the Frame
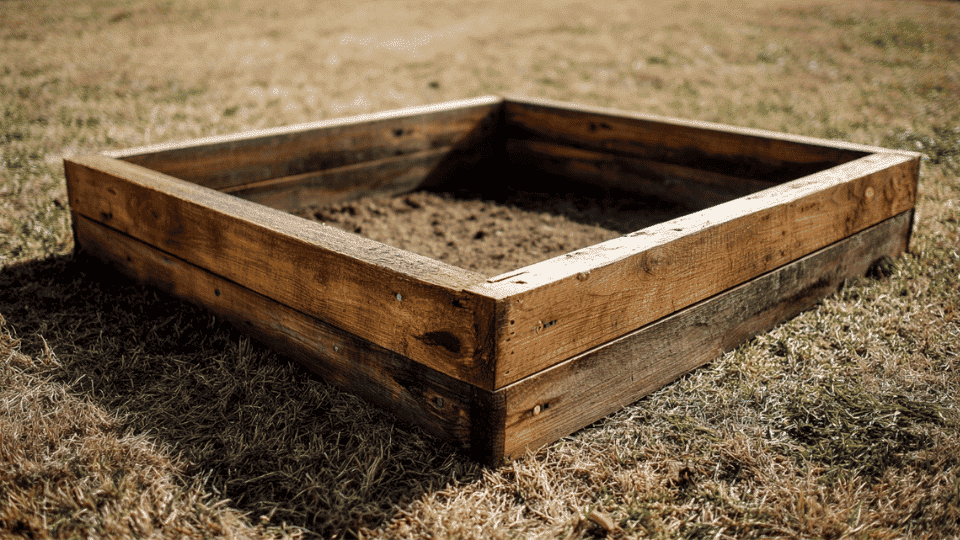
Measure your boards and cut them to fit your sandbox. A 4×4 box needs four equal pieces. Lay them out in a square on your prepared ground, then drill pilot holes at each corner. This keeps the wood from splitting when you drive screws in. Connect all four sides together.
Step 3: Level and Secure
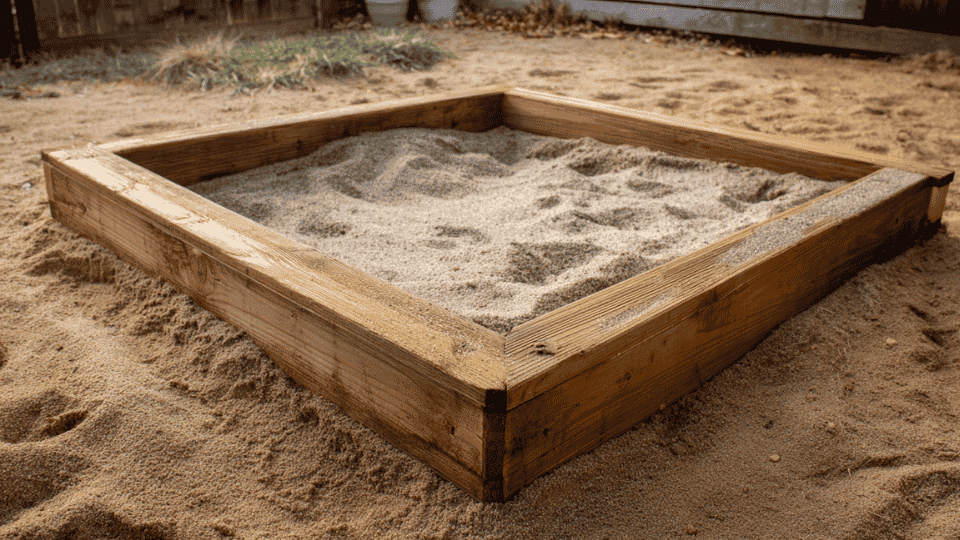
Check every side with your level. Sand shifts over time, so getting this right matters. If one corner sits higher, dig out some dirt underneath until it evens out. Once it’s level, you can add stakes at the corners for extra strength, but that’s optional for smaller boxes.
Step 4: Add Sand and Finishing Touches
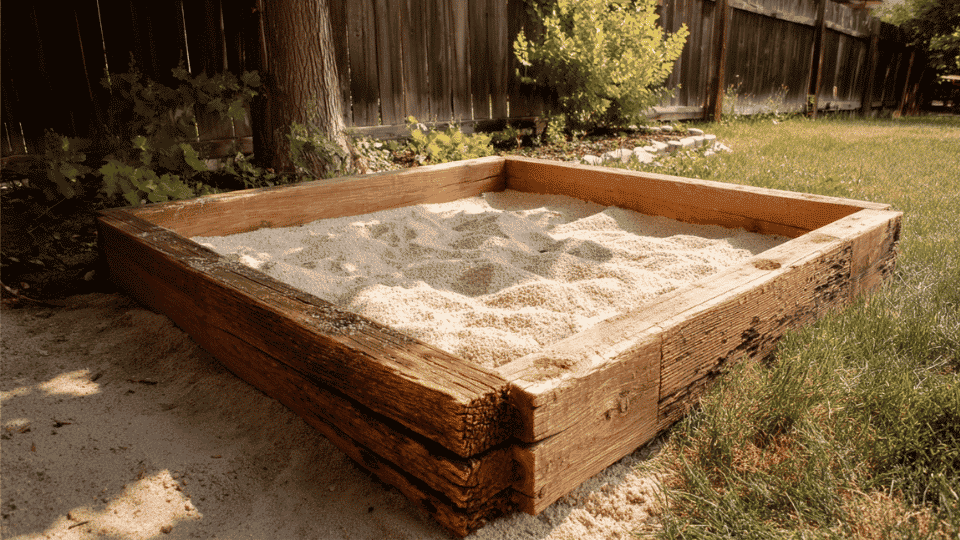
Pour your sandbags in slowly and spread them around with a rake or shovel. You want about 6-8 inches deep so kids can dig properly.
Leave a few inches of space at the top of the frame. If you’re making a diy sandbox with a cover, now’s the time to measure for that lid.
You just built something your kids will use for years. Not bad for a weekend project, right? Go ahead and let them loose in there.
Types of Sandbox Sand
Not all sand works the same in a sandbox. You’ve got options at the store, and picking the wrong one means dusty kids or sand that won’t hold a castle shape. Stick with these three types, and you’ll be fine.
| Sand Type | Cost Per Bag | Best For | Notes |
|---|---|---|---|
| Play sand | $5-8 | General use, castle building | Washed and safe for kids, holds shape well |
| Beach sand | $4-6 | Natural look, fine texture | Can be too fine, gets everywhere |
| All-purpose sand | $3-5 | Budget builds | Dustier, not always washed clean |
Play sand is your safest bet because it’s already cleaned and tested for kids. Beach sand looks nice, but it tracks into your house like crazy, and all-purpose sand is really meant for construction work. These are some of the best entertaining activity ideas to get started with.
DIY Sandbox Cover Options
A diy sandbox with a cover keeps rain, leaves, and neighborhood cats out of your clean sand. You’ve got several ways to build one, and each works differently depending on your yard setup. Pick what fits your skill level and budget.
1. Folding Bench Cover Design
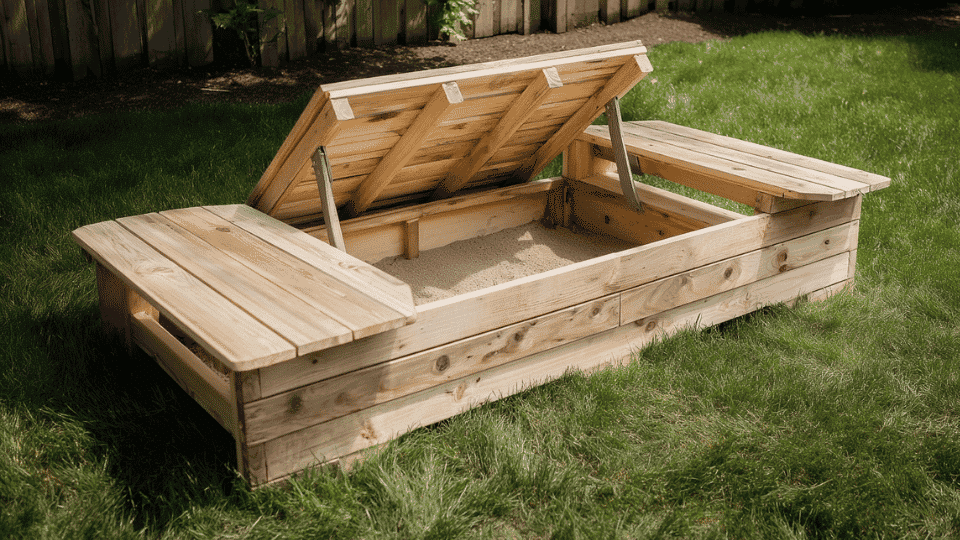
This cover doubles as seating when flipped up. Two hinged sections fold back on themselves to create benches on opposite sides.
- Best for: Parents who want extra seating around the sandbox
- Pros: Serves two purposes, looks clean, and kids can sit while playing
- Cons: Takes more time to build, uses more lumber, heavier to move
- Tools and materials needed: Hinges, 2×4 boards, screws, drill, saw
- How to build it: Cut boards to frame size, attach hinges on both sides so they fold backward, and add crossbars for strength
2. Simple Tarp Cover
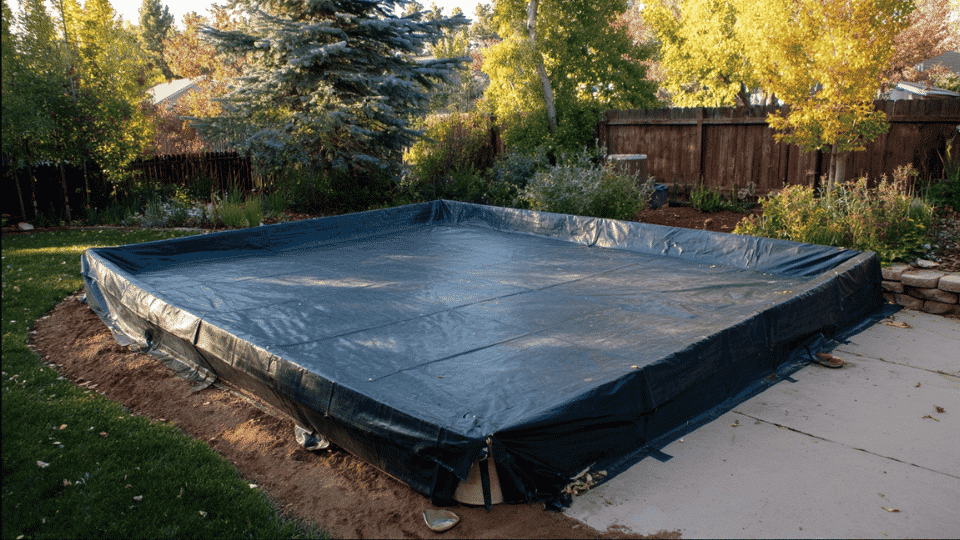
Just a heavy-duty tarp stretched across the top and tied down at the corners. Takes five minutes to set up. Sure, it’s not pretty, but it gets the job done when you need quick protection and don’t want to spend a whole weekend building something fancy.
- Best for: Quick fixes and tight budgets
- Pros: Cheap, easy to remove, no building required
- Cons: Looks temporary, wind can blow it off, wears out fast
- Tools and materials needed: Tarp, bungee cords or rope, scissors
- How to build it: Measure your sandbox, buy a tarp slightly larger, stretch it over, and secure it with bungees at each corner
3. Lattice or Screen Cover
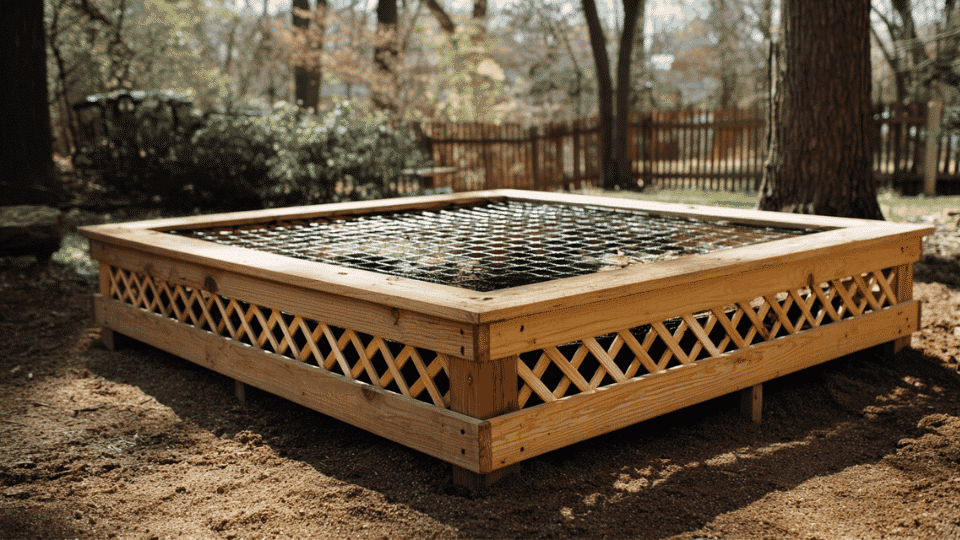
This option works great if you live near trees that drop leaves constantly. A flat frame covered with lattice panels or screen mesh. Let’s rain drain through, but keep debris out.
- Best for: Areas with lots of trees and falling leaves
- Pros: Drains water, blocks big debris, lightweight, easy to lift
- Cons: Doesn’t stop all rain, screen can tear, needs replacing eventually
- Tools and materials needed: Wood frame pieces, lattice panels or screen, staple gun, screws
- How to build it: Build a simple frame matching sandbox dimensions, stretch lattice or screen across, staple edges tight, trim excess
4. Canopy or Slatted Roof Cover
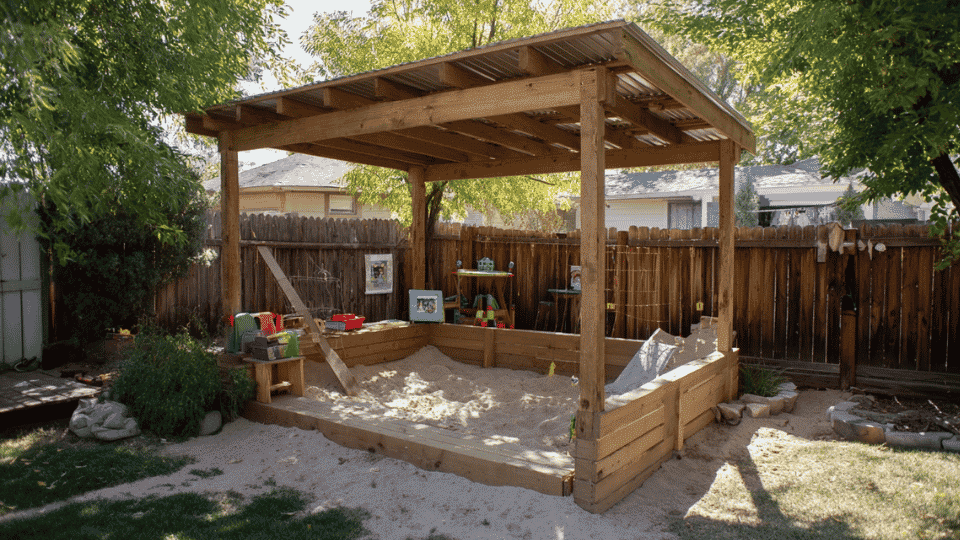
Think of this as a permanent shade structure sitting a few feet above your sandbox. A raised roof sits a few feet above the sandbox. Provides shade and keeps most rain out while staying open on the sides.
- Best for: Hot climates where shade matters more than full coverage
- Pros: Adds shade, looks nice, doesn’t need removing for play
- Cons: More complex build, uses more materials, still lets in some rain
- Tools and materials needed: Four corner posts, roof slats or fabric, brackets, and concrete for posts
- How to build it: Install corner posts in the ground, attach horizontal supports, lay slats or fabric across the top, and secure everything with brackets
5. Hinged Wooden Lid
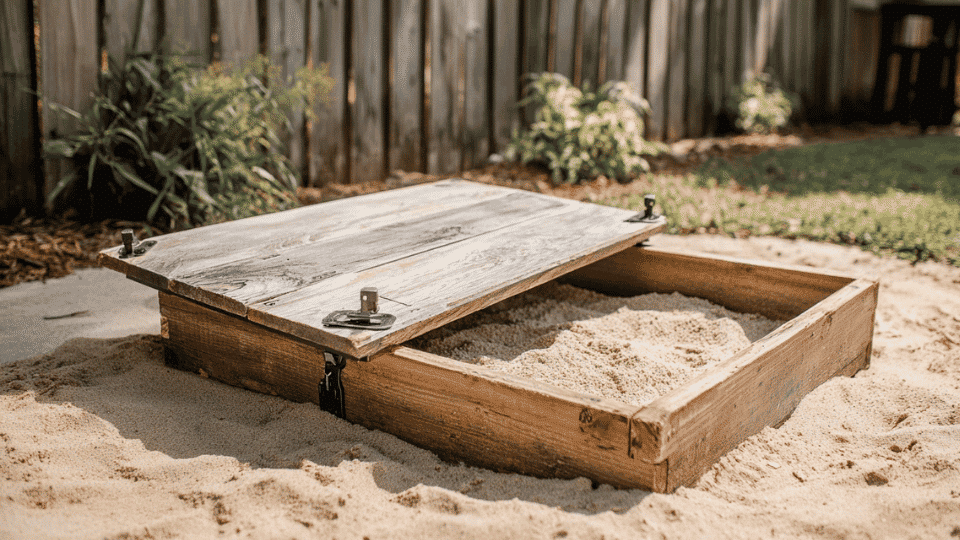
A solid wood cover attaches with hinges on one side and lifts up like a door, propping open with a support arm when kids want to play. Nothing gets past this thing, not rain, not leaves, not the neighbor’s cat.
- Best for: Full protection from the weather and animals
- Pros: Total coverage, sturdy, lasts for years, easy to open
- Cons: Heaviest option, needs a support arm to hold open, costs more
- Tools and materials needed: Plywood sheets, hinges, support arm, screws, drill
- How to build it: Cut plywood to fit the sandbox top, attach hinges along one edge, and install a support arm so it stays propped open.
Pick what matches your needs and don’t overthink it. Even a basic tarp beats leaving your sandbox open to the elements. Your sand stays cleaner, and you’ll replace it less often.
Cost and Time to Build a DIY Sandbox
You’re looking at $75 to $150 for a basic diy sandbox, depending on wood quality and size. Sand alone runs about $50 for enough bags to fill a 4×4 box.
Lumber and screws add another $30 to $50. A diy sandbox with a cover bumps that up by $20 to $60 more. Time-wise, count on two to three hours for the build itself.
Add another hour if you’re making a cover. Most of that time goes to measuring, cutting, and waiting for kids to stop asking when it’ll be done. One Saturday afternoon, finish the job.
Safety Considerations to Follow
Sand your wood edges smooth before the kids start playing. Splinters happen fast with rough lumber, and little hands grab everything. Check for any protruding screw heads and countersink them below the surface.
Your diy sandbox needs proper drainage, too, so poke a few holes in that landscape fabric or rainwater pools up and turns the sand into a swamp.
Keep the sandbox away from low-hanging branches since kids climb on everything. A cover stops animals from treating it like a litter box overnight. Replace the sand every year or two because it gets gross over time, so don’t forget to convert some trash into treasure.
Common Mistakes to Avoid
Building a diy sandbox sounds simple until you make one of these classic errors. Learn from others’ mistakes so you don’t waste time or money fixing problems later.
- Skipping the landscape fabric: Weeds shoot up through sand faster than you think. That fabric barrier saves you hours of pulling grass later.
- Buying construction sand instead of play sand: It’s dustier, dirtier, and sometimes has chemicals mixed in. Not worth the two-dollar savings per bag.
- Forgetting drainage: Standing water ruins sand and breeds mosquitoes. Poke holes or use gravel underneath.
- Making it too small: Kids need space to spread out. Go bigger than you think, because they’ll outgrow a tiny box fast.
- Placing it in full shade: Some sun helps dry out the sand after rain. Total shade keeps everything damp and gross.
Avoid these five things, and your sandbox will last years instead of months. Small choices up front make a big difference down the road.
The Bottom Line
Your diy sandbox doesn’t need to be perfect to work. Kids don’t care if the corners are slightly off or the wood has a few scratches. What matters is you made something they’ll actually use, and you didn’t spend a fortune doing it.
A diy sandbox with a cover keeps everything cleaner between play sessions and lasts way longer than an open box. Two hours of work gives you years of outdoor fun, and that’s a trade most parents would take any day.
So grab those materials, set aside a Saturday, and get building. Your backyard is about to become the neighborhood hangout spot.
Frequently Asked Questions
Do Kids Get Pinworms from Sandboxes?
Yes, kids can get Pinworm Infection, but it is not common. It spreads through dirty hands or contaminated sand. Washing hands after play helps prevent it.
Can You Get Ringworm from a Sandbox?
Yes, Ringworm can spread from a sandbox. It occurs when the sand is contaminated by animals or by infected surfaces. Keeping it covered reduces risk.
Why Do You Put Salt in a Sandpit?
Salt is used to keep bugs away. It may help a little, but it is not a complete solution. Covering the sandbox works better.